Last Updated on January 11, 2024 by Ewen Finser
Playing on social media all day sounds like a dream job come true, but solo content creators and marketers at both the small business and enterprise levels know the reality is much different.
Social media marketing is about more than chatting with pals and fans online – you have to have a well-planned content calendar to adhere to, which includes multiple social media posts that have to go live on thoughtful, pre-determined schedules.
In order to not be chained to your computer or phone all day long (and through weekends and over holidays), smart marketers turn to helpful tools to get their content all queued up and ready to go.
In this article, we’re going to talk about two social media scheduling and planning tools: Viraltag and Tailwind.
Bottom Line Up Front: If you are primarily doing Pinterest and Instagram marketing, Tailwind IS the best option (miles ahead of ViralTag). However, if you are looking to also manage other social media profiles, Viraltag is a great tool to manage it all as a base line.
Tailwind is the ONLY tool I trust to generate more AUTOMATED traffic from Pinterest. Other tools offer Pinterest scheduling as a "me too" offering, Tailwind IS the Pinterest marketing suite. Build traffic, tribes, and re-pins!
For each, we’ll give you a quick overview, then walk through the sign up, dashboard navigation and scheduling processes. We’ll then talk a little more in depth about one or two main features, followed by pricing breakdowns. Lastly, we’ll give you our final verdict for when and how to use each tool.
[compare_two_products]
What is Viraltag?
Viraltag is a social media marketing tool for sharing visual content. Features include:
- Manage multiple social networks at once
- Schedule unlimited posts so your queue never runs out
- Reuse evergreen and/or high-impact content
- Analyze performance
Viraltag Signup
The signup form couldn’t be easier, and once I filled it out, it really did take me to my account setup – there wasn’t another form I had to fill out after this one. Note that this automatically puts you on the Pro plan free for 14 days. We’ll talk about pricing a little later.

To start setting up my Viraltag account, I had to connect social profiles.
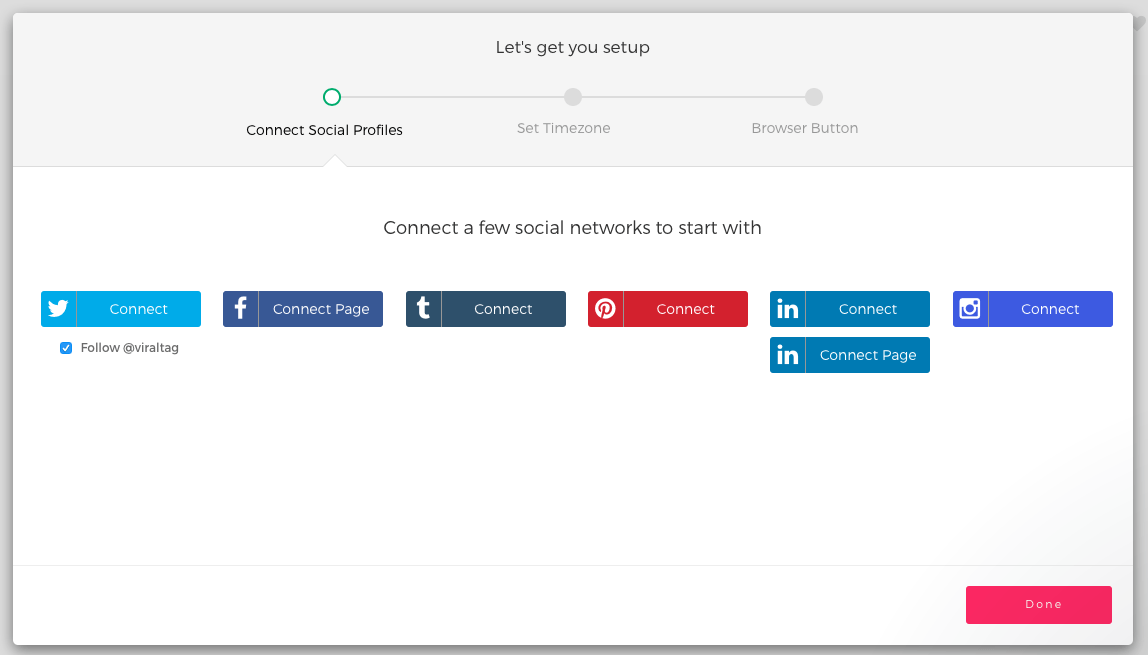
This was pretty standard – you go to the platform’s login page, enter your info and authorize Viraltag to use your account.
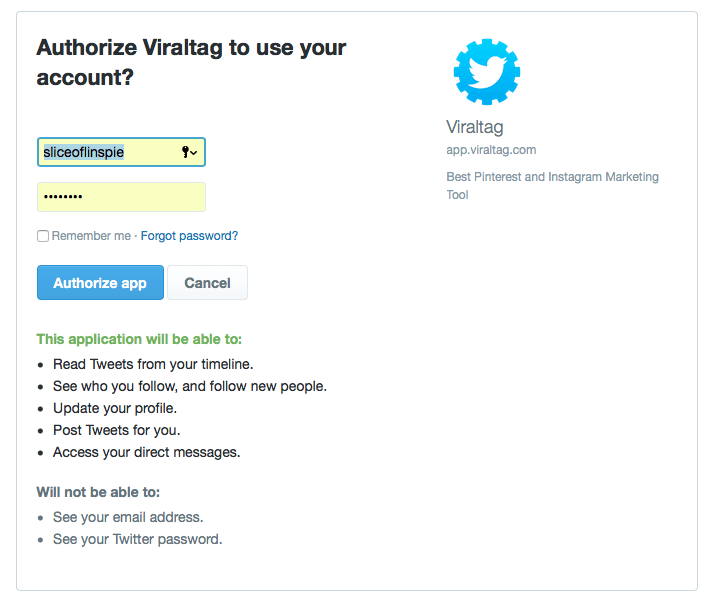
With Facebook, there’s an extra step so that you can login to your account and then connect your business page. For LinkedIn profiles vs. pages, there are two different buttons on the Viraltag setup page. Instagram required a bigger extra step – you had to download the Viraltag app.
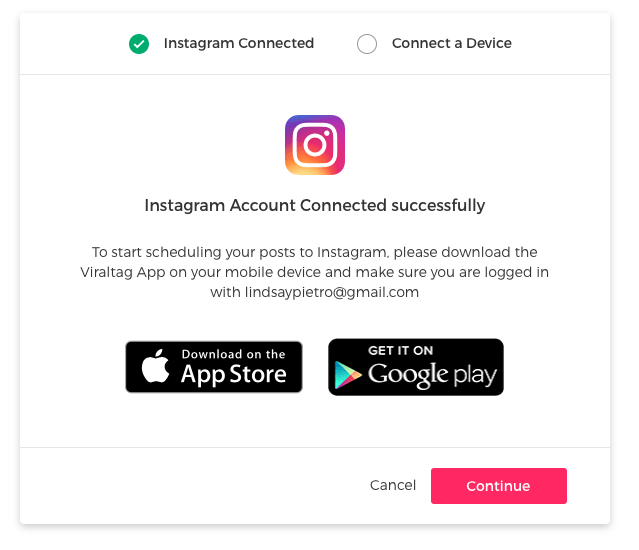
This is a pain, but also pretty standard – I had to do something similar when connecting Instagram to Buffer. It also forced me to download the app to my iPhone, which I would’ve had to do eventually anyway. All I had to do was login to the app and the Instagram connection was ready to go.
Another note about Instagram: a lot of social media schedulers, Viraltag included, can’t actually post for you. This is changing a bit – Buffer can now post for you – but not every scheduling platform has switched over to this capability. Here’s a video explaining how Viraltag helps you post to Instagram and what’s still required of you to actually get those posts up and live.
I ended up connecting five accounts in all: Facebook page, Instagram, LinkedIn profile, Pinterest and Twitter.
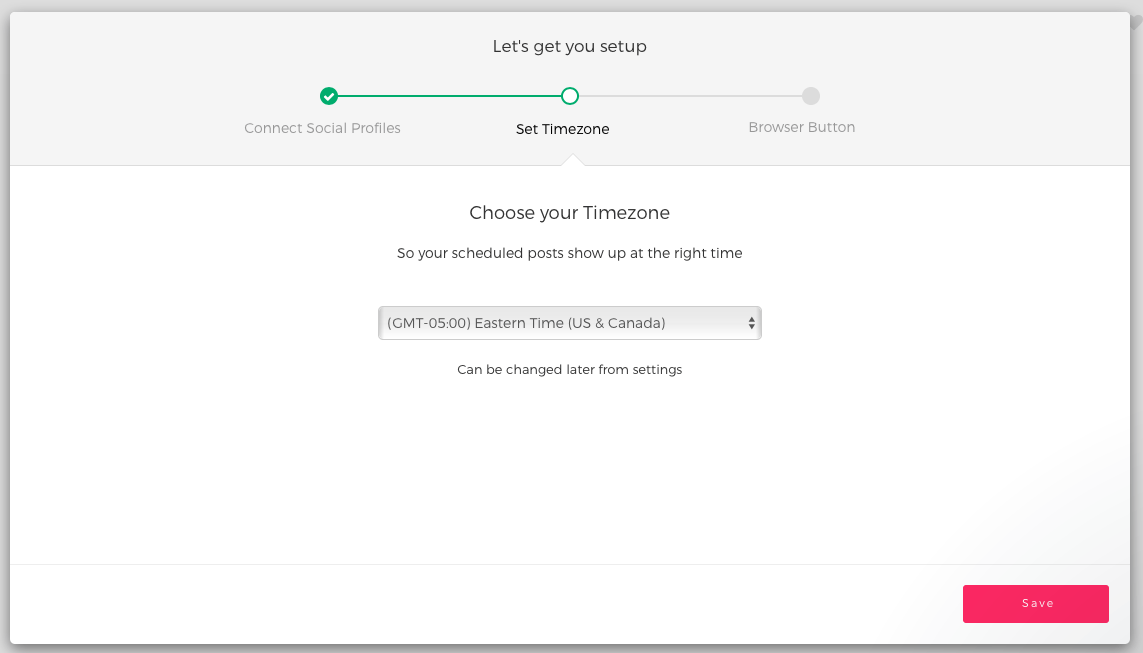
Next you choose your time zone…
…and then choose your browser button. I don’t use Chrome, so I dragged the Bookmarklet to my browser bar.

The Viraltag Dashboard
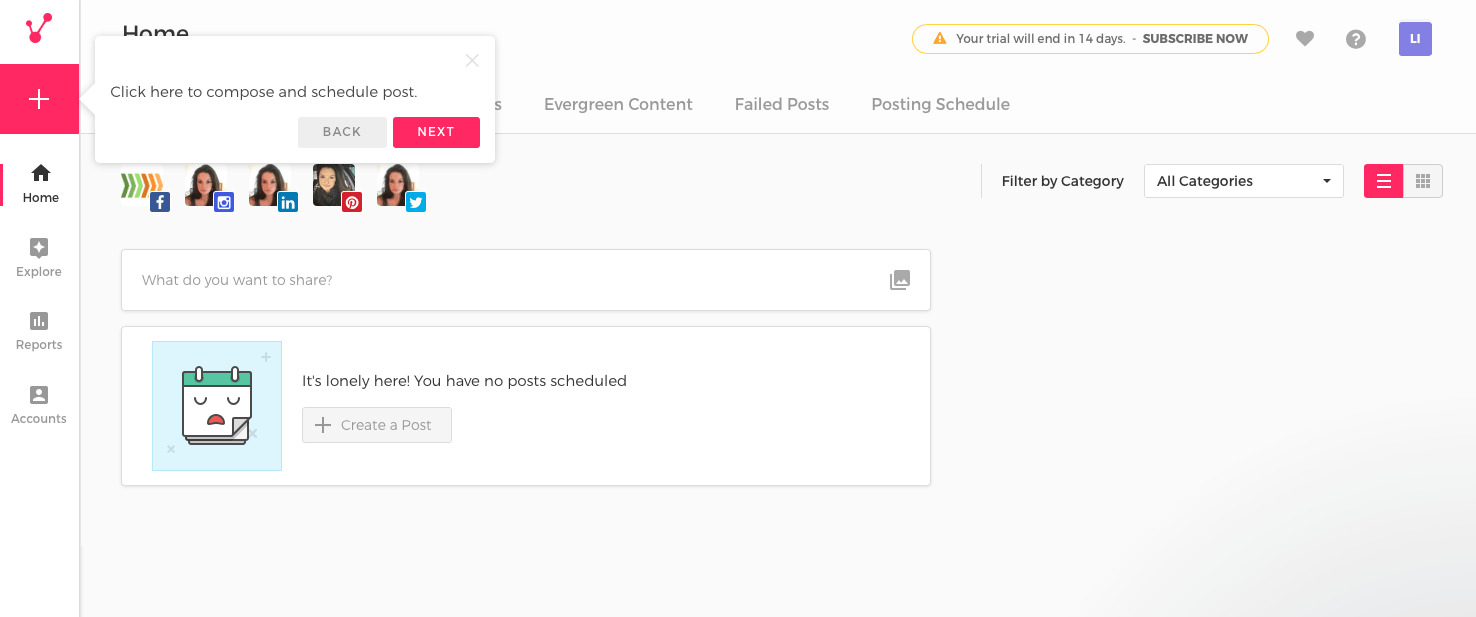
Setup was pretty easy – the longest step was connecting Instagram, which was still quick. Once setup was finished, I was taken to the dashboard, which had helpful pop-ups to explain how to do things.
Let’s go through the dashboard quickly:
- The plus sign is where you create new posts.
- The Explore button is where you can curate and create content. This is where you’ll add your favorite RSS feeds and social streams, and also where you’ll use the Canva integration to design visuals.
- “Reports” is pretty self-explanatory – this is where you’ll see how well your posts are doing. You can get reports about things like engagement and traffic here, broken down by social profile.
- “Accounts” is where you’ll add or remove social profiles.
- The settings icon on the bottom left is where you can check out your account settings, payment information, extensions and integrations.
I definitely want to play around with the Explore section, but since scheduling posts is the main goal of Viraltag, I decide to start there.
Scheduling Posts with Viraltag
I clicked the “What do you want to share?” box and this box popped up on top of the screen:
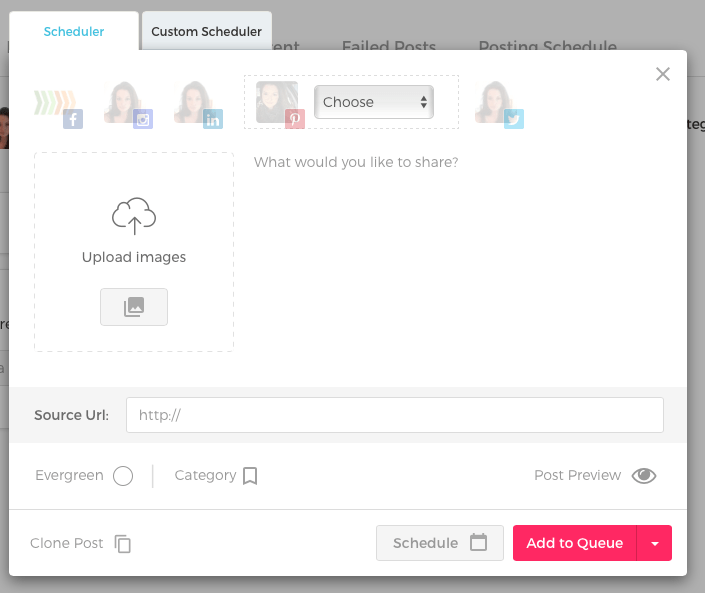
I want to post to my Facebook page first, so I click its icon. Now I have to add a photo. There are several options:
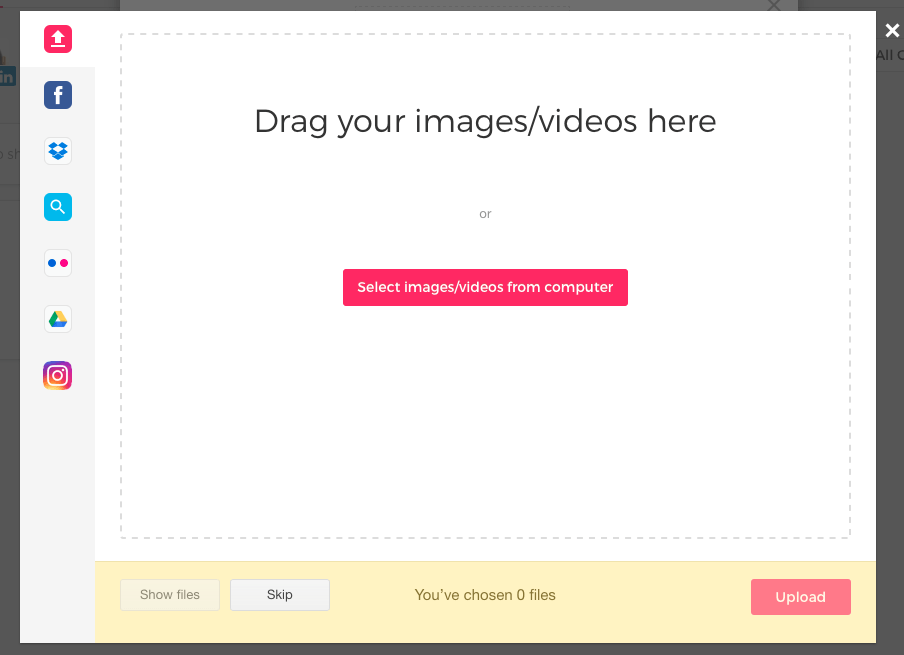
Here’s a breakdown of the “add a photo” options:
- Upload a file from Facebook. What I find strange is that you have to connect to Facebook again, even though I’m obviously connected since I can schedule posts for the page. Once I connect, I have a selection of the photos in my personal Facebook account – not the business page’s account, though.
- Connect to Dropbox to add one of your files.
- Search the web for an image, which is powered by Bing. I’m assuming these are legal to use, licensing-wise, but it doesn’t say whether they are or not.

- Connect to your Flickr account to add a file.
- Connect to your Google Drive account to add a file.
- Connect to your Instagram account to add a file – again, you have to login again. Weird.
I opt to just upload a photo from my computer. The file name automatically becomes the description, which is silly – when do you ever use the file name as the post text?
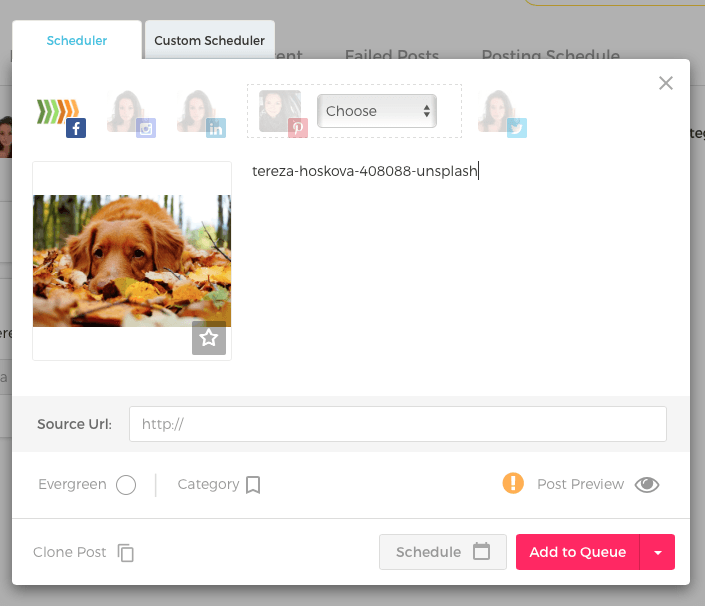
I update the caption and add the source URL for where I found the picture.
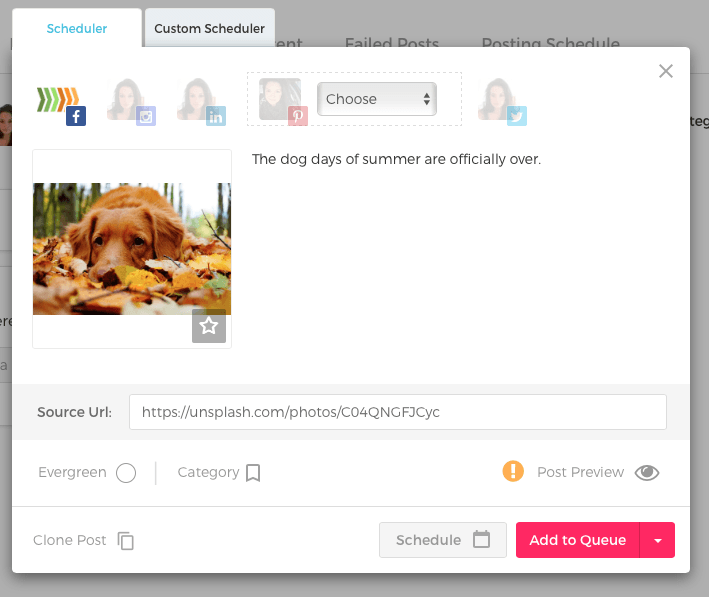
I don’t really know how that source URL is going to populate, so I click Post Preview to see what it looks like.
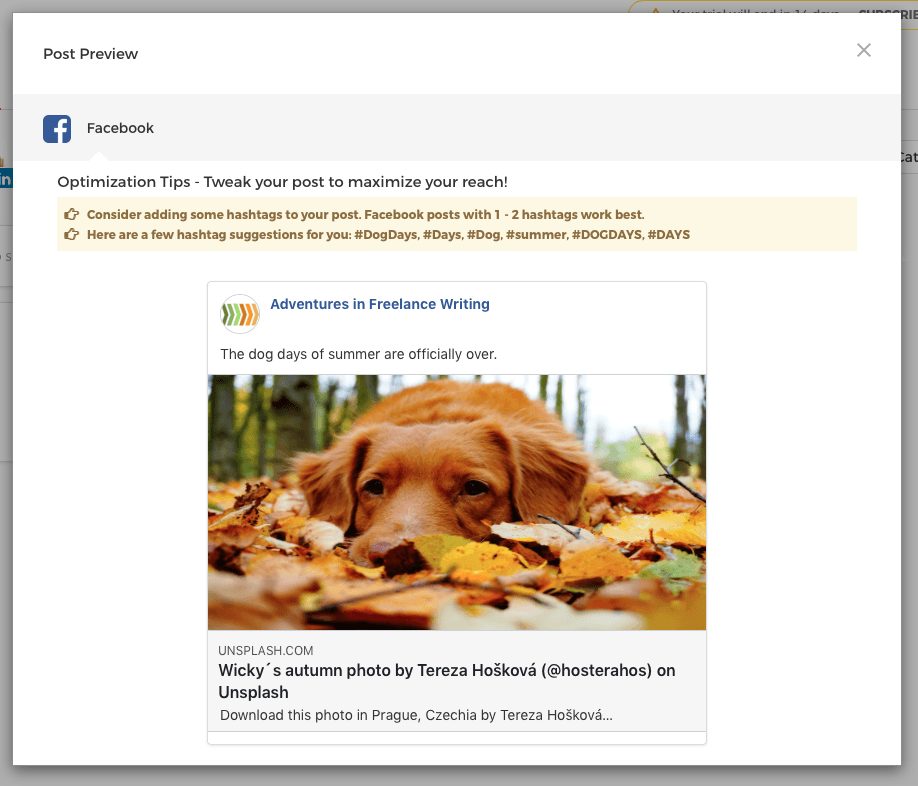
I don’t actually want people to click over to the website where I got this image, so I’ll have to go and either remove or update the URL. I also notice that the image is scrunched down. This is what the original image looks like:

I guess I could’ve gone to Canva first to adapt the image so that it fits a Facebook post perfectly, but I wish that Viraltag could’ve just done this for me or given me the option to crop it. When I remove the URL so that it’s just an image with a caption, the photo looks like it’s back to normal:
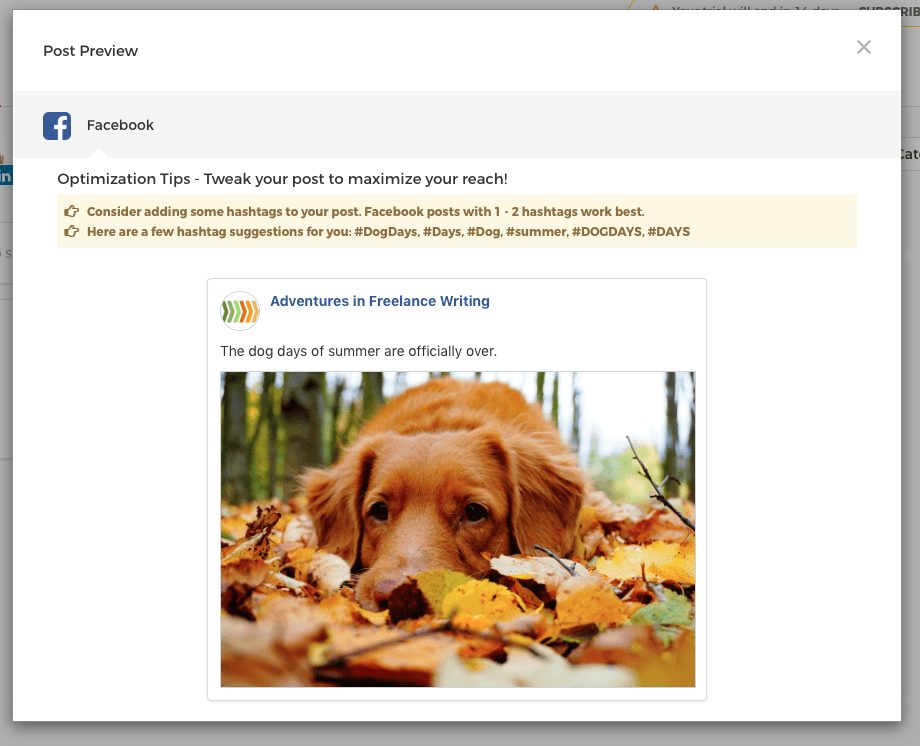
The suggested hashtags are helpful, but only if you like to add hashtags to Facebook posts – there’s a school of thought out there that says hashtags on Facebook are a no-no.
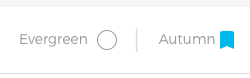
I “X” out of the preview and now it’s time to finish this up and get it scheduled. If this was an evergreen post – which it’s not because I mention a season – I could click “Evergreen,” which would categorize it on the Evergreen Content tab. Evergreen posts are automatically posted when there’s an empty slot in your social media posting schedule (we’ll get into the Posting Schedule tab in a minute). This sounds like a good idea in theory, but it also means that if you fall behind in scheduling, you could end up posting the same evergreen post over and over, which looks amateur-ish and could annoy your audience.
Instead, I create an “Autumn” category for this post.
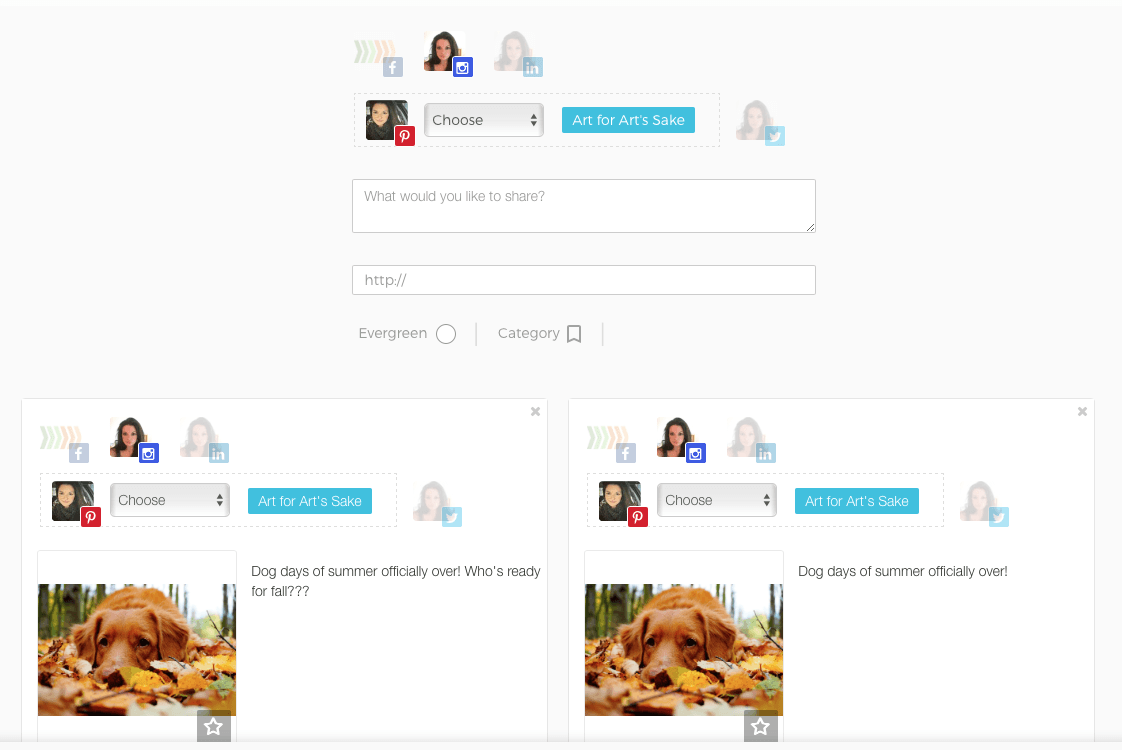
You can also clone a post, which will take you over to the Bulk Editor.
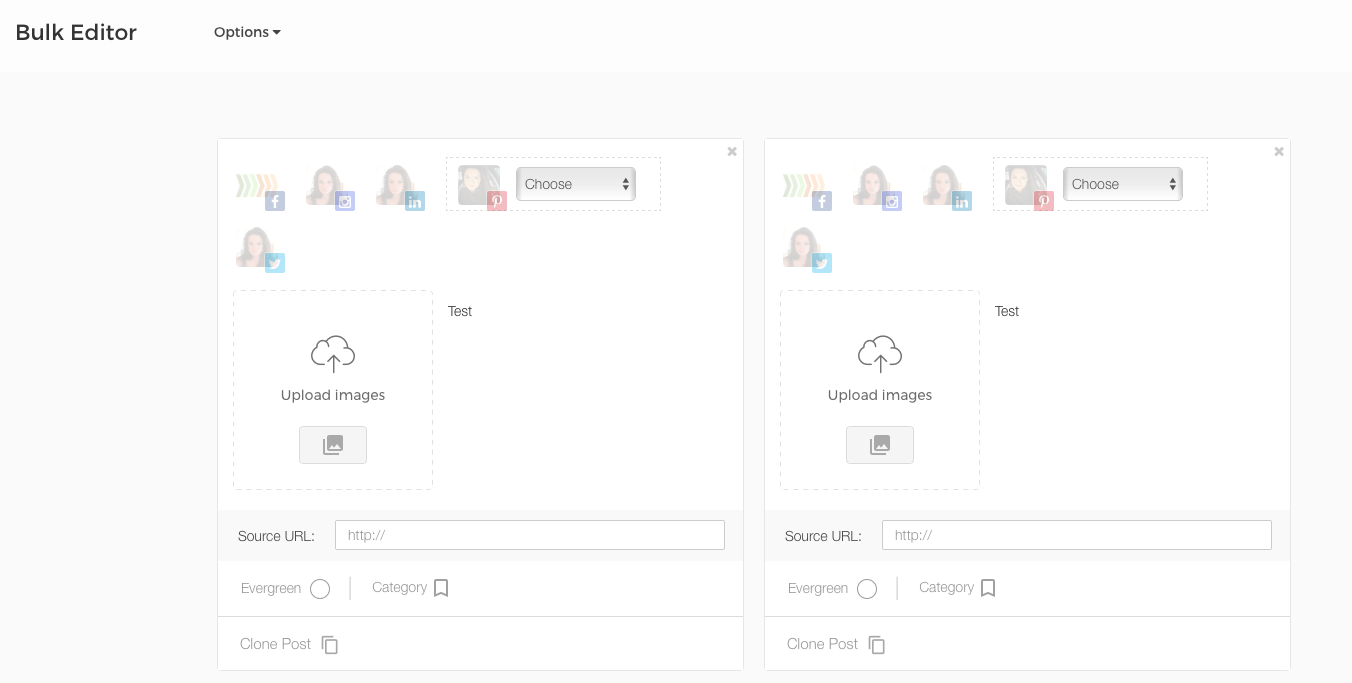
From there, you can edit each cloned post individually – so, maybe you want the same picture across four posts, but you want to choose different social profiles and captions for each – and you can also easily make changes across all of them at once by clicking Options.
I’m putting together two posts. Both of them have the same photo, but the captions are slightly different. Also, one of them is going to my Facebook Page and the other is going to a Pinterest board.
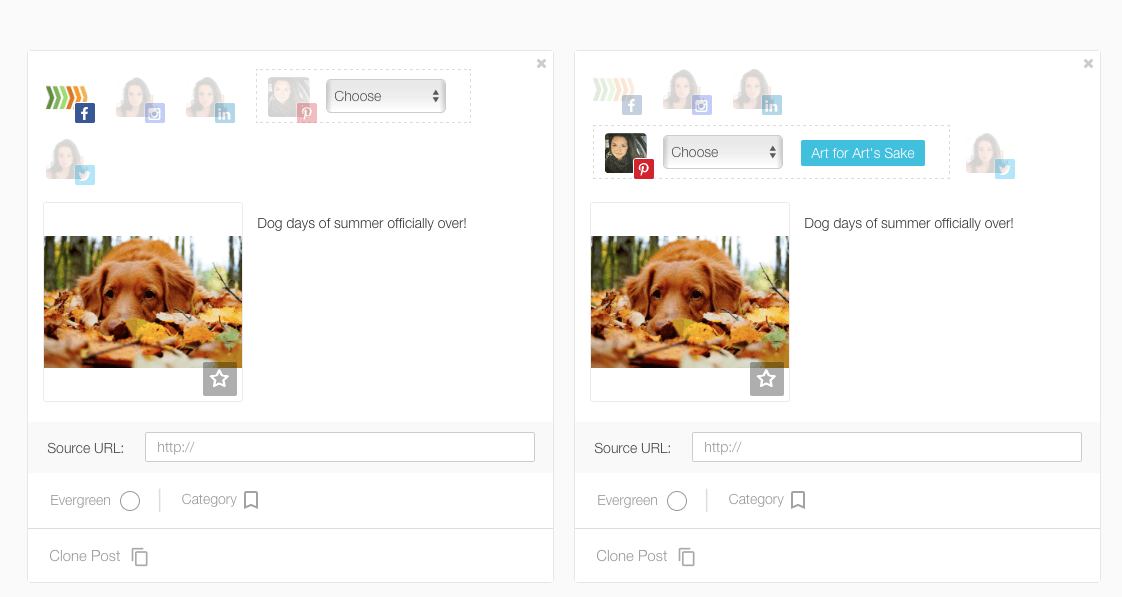
If I want to also schedule both posts to go to Instagram, I click Options on the top of the page, which brings up this sort of “master” post creator:
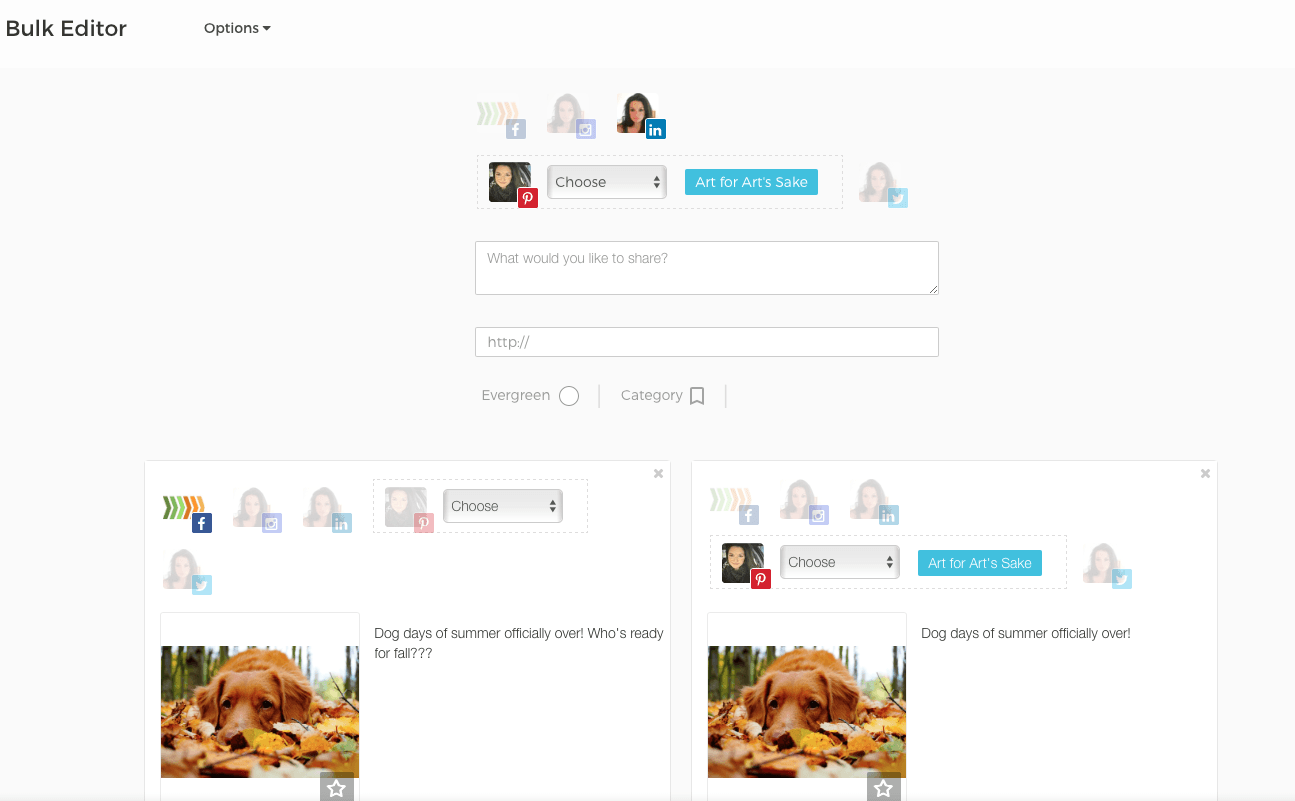
If I choose Instagram in that master post creator, it’ll add Instagram to both posts.
Okay, let’s get back to scheduling posts. We’ll start with scheduling a single post, then talk about scheduling options when using the Bulk Editor. Note that there’s no easy way to exit the Bulk Editor – I had to just click the back button a few times to find the dashboard.
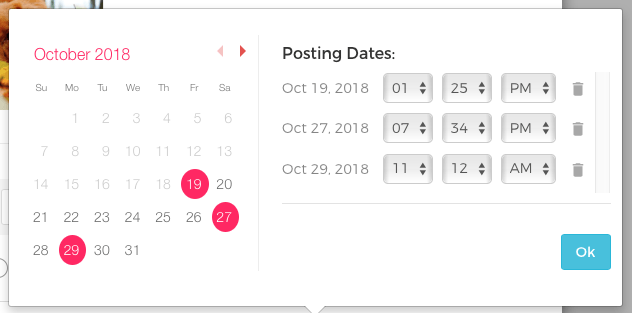
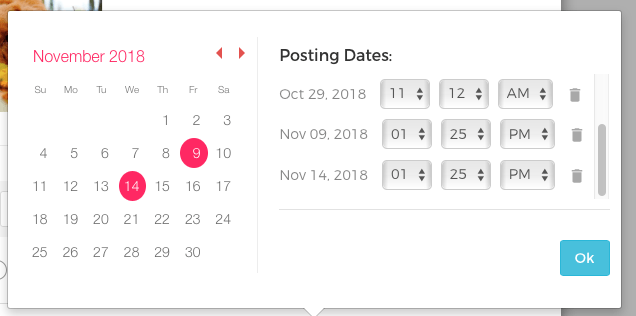
I click the Schedule button and a calendar of the current month pops up. I can pick multiple dates, which will be auto-added to the right-hand column, and then set different times for those dates. I can also click through to other months to add more dates and times.
Alternatively, I can click Add to Queue, which will save the post until my next scheduled posting time. You can set the days and times you want posts to go up for specific profiles on the Posting Schedule page.

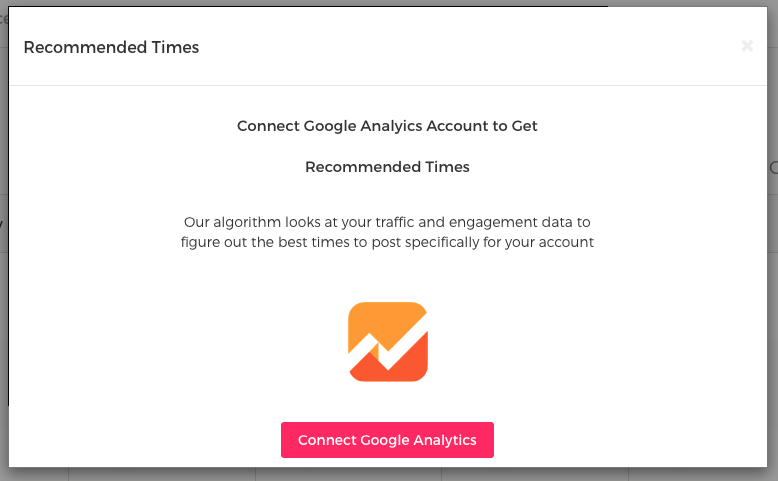
If you want Viraltag to help you figure out the best times to post, you can connect to your Google Analytics account.
Other options include posting immediately or saving the post as a draft to work on later.
If you’re going to schedule from the Bulk Editor screen, you have the additional task of choosing how far apart you want to space your posts in either minutes or hours.
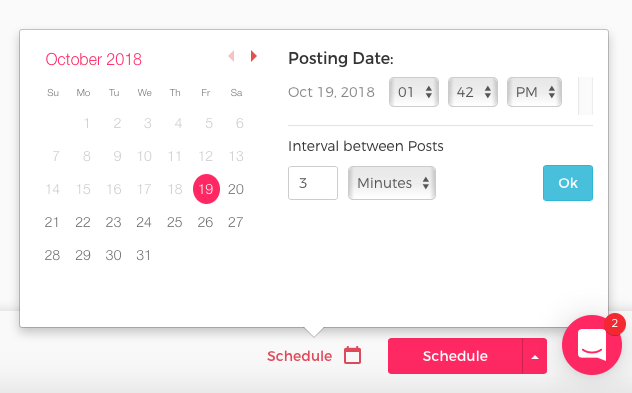
So if I want to schedule those two similar posts, I can choose the starting date and time, then say that I want the second post to go up four hours after the first one.
A few more quick things about scheduling posts with Viraltag:
- When posting to a Pinterest account, you have to choose a board and include the source URL (this is standard for most Pinterest scheduling tools).
- When posting to Twitter, there’s a helpful character counter so you don’t exceed 280 characters per post.
- You won’t be able to schedule a post for Instagram, Pinterest or Tumblr without choosing an image.
Curating and Creating Content with Viraltag
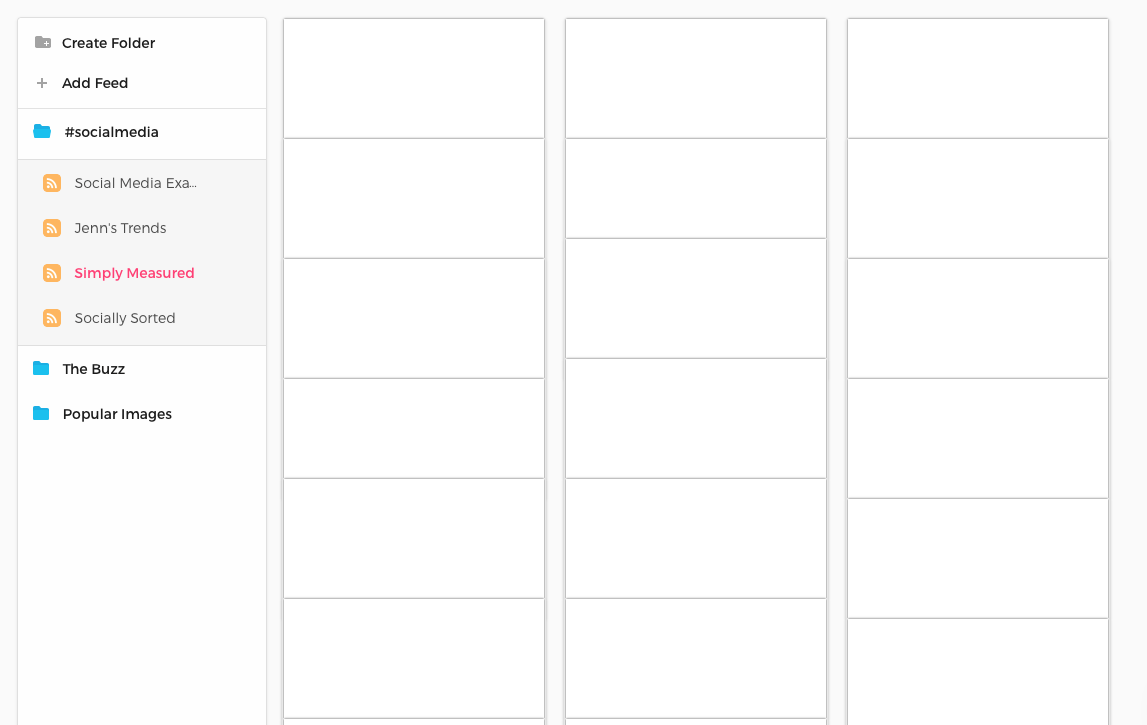
Now for the Explore feature, which is what I’m most interested in. When you click Explore, this is what you see…and I don’t quite understand it all at first glance.
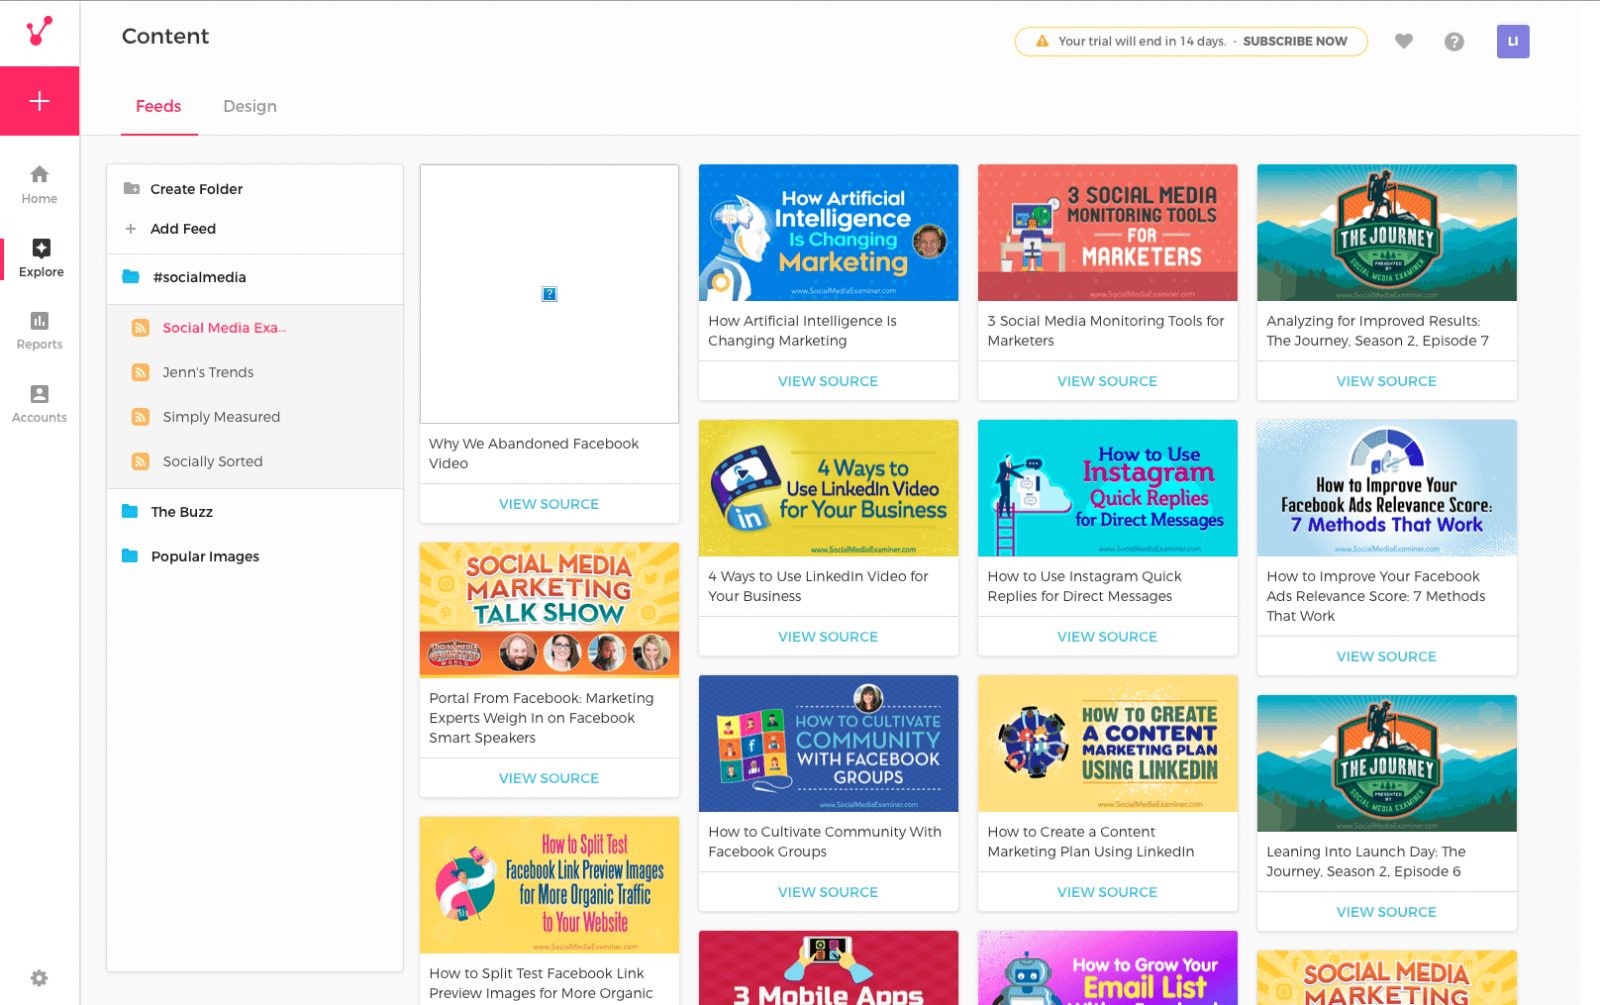
My first impression is that this looks kind of cheap. One of the images isn’t loading (I refreshed the page a few times to make sure it wasn’t my connection), the graphics look a little outdated, and even some of the fonts look chintzy.
Now, those images in the screenshot above are pulled from Social Media Examiner, so it’s not necessarily Viraltag’s fault that the quality looks low, but it makes me not trust Viraltag’s taste in general. The other #socialmedia feeds were similar:
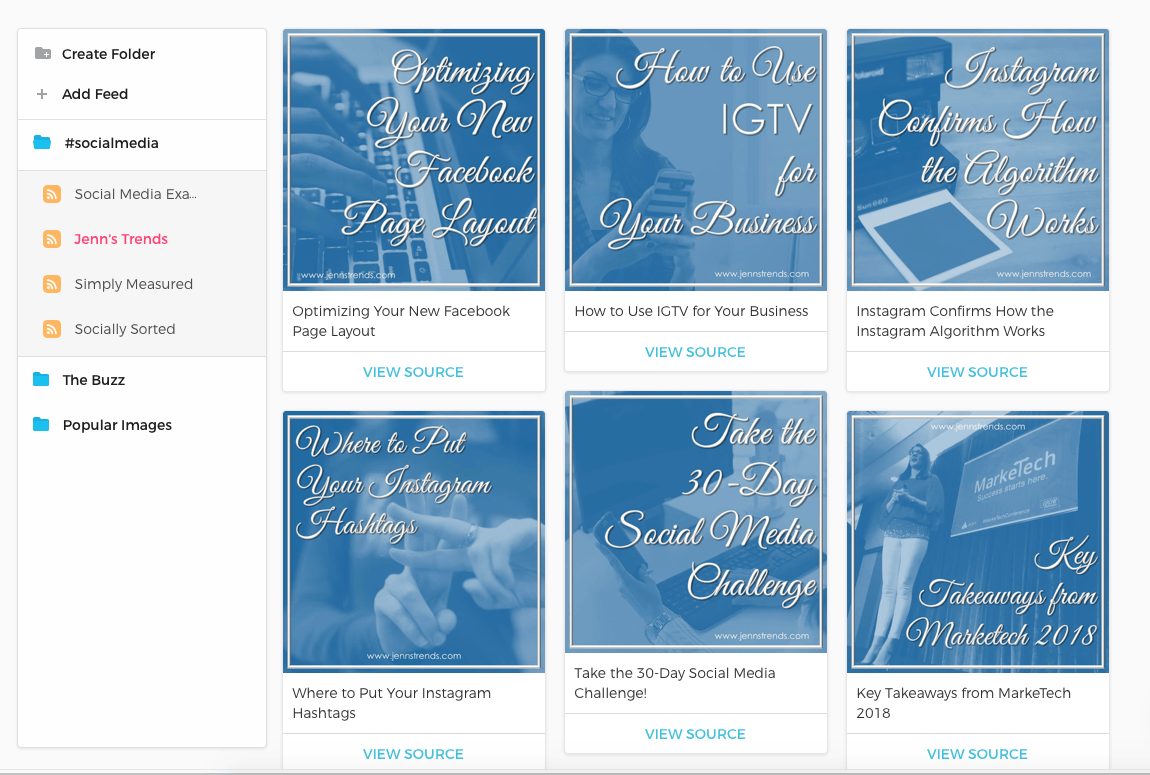
One of them didn’t even load at all:
Of course, you can add your own feeds here to have better control over what you see. I couldn’t figure out how to delete the feeds that were already in there, though – I’m guessing maybe you can’t.
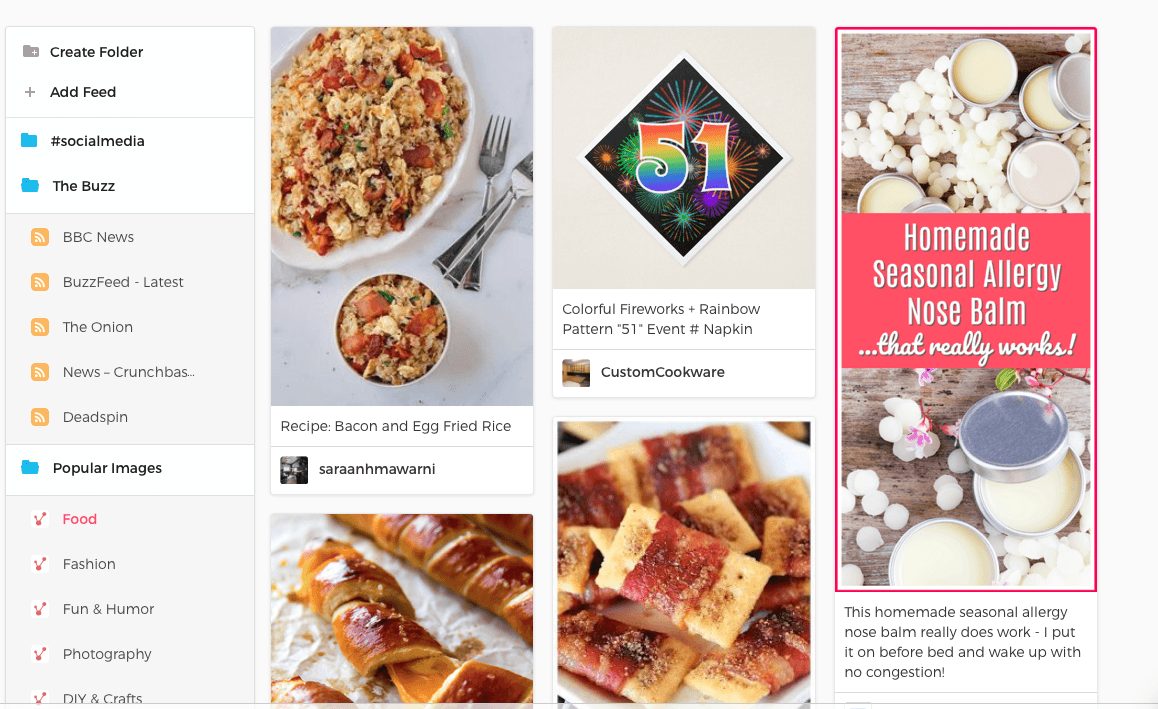
The Buzz folder has feeds from BBC News, BuzzFeed, The Onion, Crunchbase and Deadspin. There’s also a Popular Images folder with the following categories: Food, Fashion, Fun and Humour, Photography, and DIY and Crafts. I clicked on Food and the feed looks like it came from Pinterest, but it’s not filled with very high quality images (I spend a lot of time on Pinterest and I know that there are a ton of great looking food photos there).
In any of these Explore folders, you can click on a post you want to add to your own social media and then schedule it.
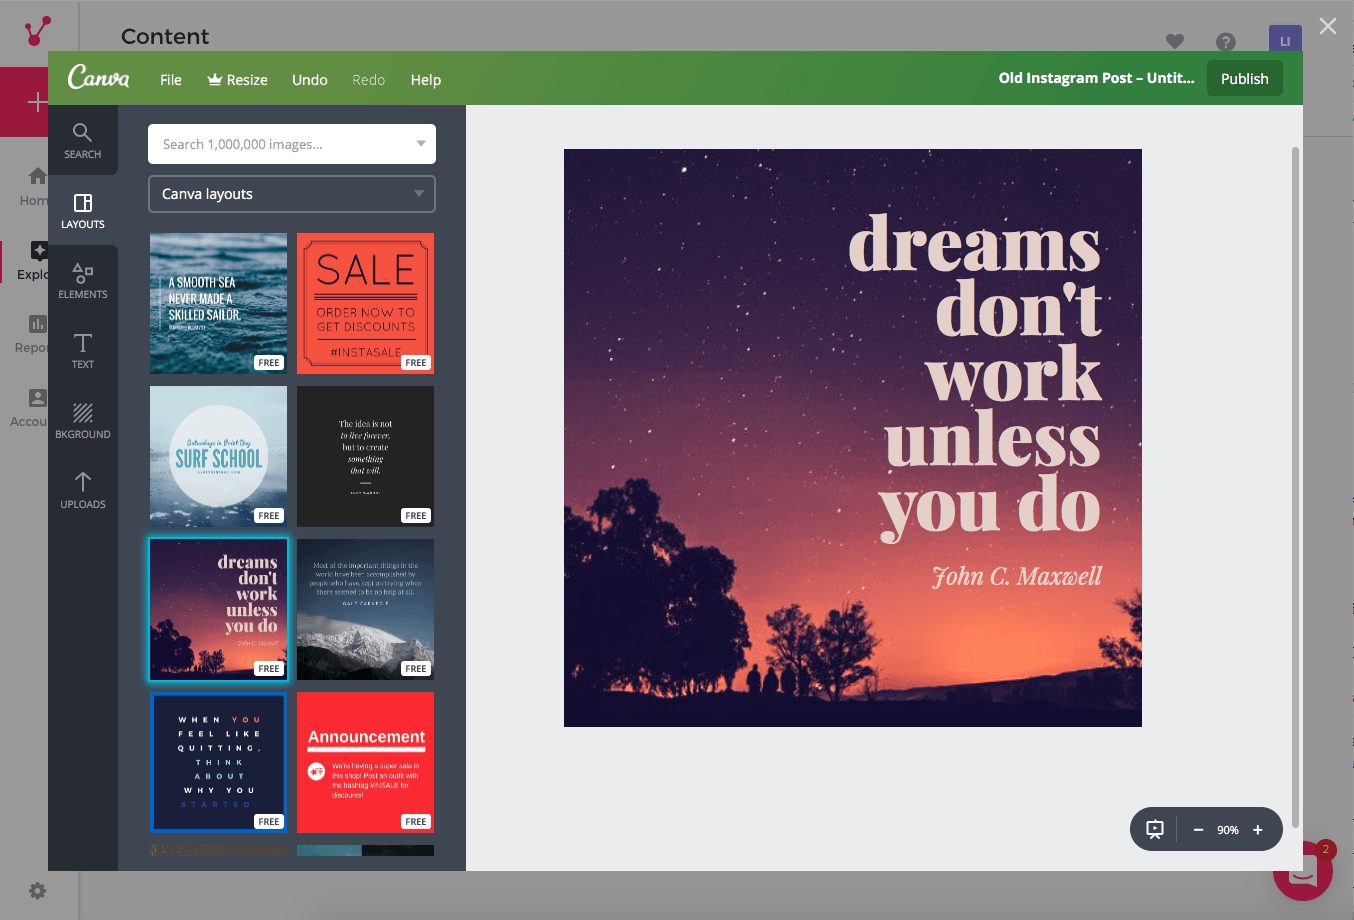
By clicking the Design tab, you can create posts in Canva.

This just brings up the Canva website as an overlay on top of the current page – it’s not much different than just opening up Canva in a separate page. It does auto-choose the layouts that are best for the social platform (Pinterest will have a different layout from Instagram, for example), and then when you’re done designing, it’ll automatically create a social media post for you. This cuts out the step of having to download the design and then upload it to Viraltag.
The Viraltag Mobile App
The Viraltag mobile app is pretty straightforward. It’s not nearly as robust as the online version, but it’ll get the job done if you need to schedule on-the-go. There are fewer scheduling options – you can only pick one day and time instead of several – and there’s no Explore or design section. Also, I thought I was scheduling a post for the future and ended up accidentally posting it right at that moment without realizing it.
Viraltag Pricing
When you sign up for the free 14 days of Viraltag, you’ll automatically be on the Pro plan. If you want to stay on this plan, it will cost $29 per month. There’s also the Business plan, which is $99 per month. You can save 20% on either plan by paying annually.
The payment page doesn’t actually say what’s included in the Business plan, though. I had to Google “Viraltag pricing,” which led me to this page. Here, it seems like the Pro plan is actually called the Individual plan, and then the Business plan is called the Small Business plan. There’s also a Brand plan starting at $249 per month. Here’s a chart to easily compare the plans.
Price | $29 per month | $99 per month | $249+ per month |
Users | 1 | 3 | 5+ |
Social Profiles | 10 | 25 | 50+ |
Unlimited Posts | ✔ | ✔ | ✔ |
Unlimited RSS Feeds | ✔ | ✔ | ✔ |
Marketing Calendar | ✔ | ✔ | ✔ |
Post Recycling | ✔ | ✔ | ✔ |
Link Shortening | ✔ | ✔ | ✔ |
Social Analytics (1 Year History) | ✔ | ✔ | ✔ |
Team Workflows | ✔ | ✔ | |
Google Analytics and UTM Tracking | ✔ | ✔ | |
Advanced Visual Analytics | ✔ |
What is Tailwind?
Tailwind is a content solution specifically for Pinterest, but it also has some tools for Instagram posting and cross-promoting with Pinterest (and Facebook Pages). Features include:
- Conversation monitoring
- Discover content
- Extend reach
- Schedule posts
- Analyze results
Tailwind Signup
You have to use either your Instagram or Pinterest account to signup for Tailwind. I decided to login with Pinterest first (and I suggest everyone do this, since Tailwind is truly Pinterest-focused), then see how to add Instagram after. Tailwind opened a separate page, where I chose to authorize my Pinterest login information.
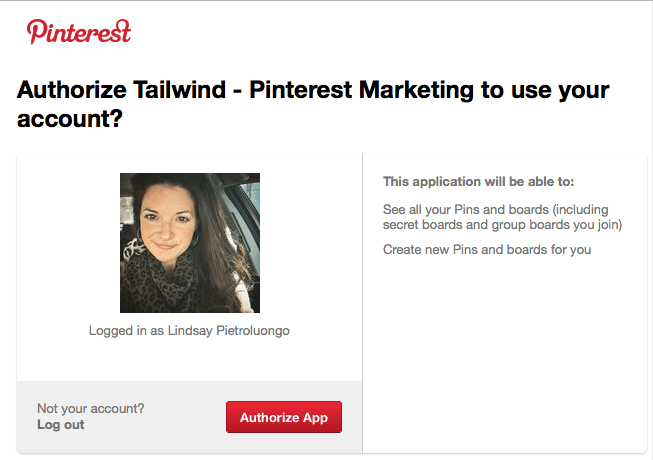
For some reason, though, it wouldn’t connect to Pinterest. I got this message:
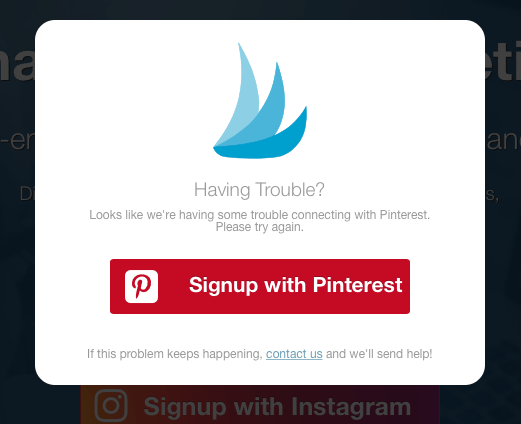
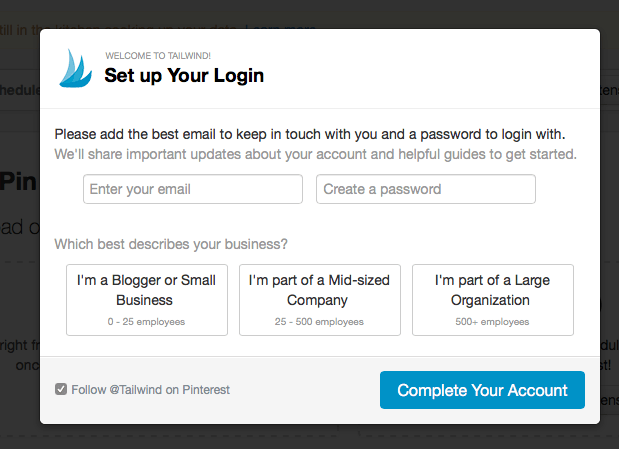
I opened Pinterest in a separate window, then logged out to see if that would help. This time, I had to login instead of just authorizing Pinterest, and that seemed to work. This window popped up with a bit more information to fill out, including a password specifically for Tailwind (you’ll use this when logging into the mobile app).
Once I was set up with my login, this window popped up asking me to install the Safari extension.
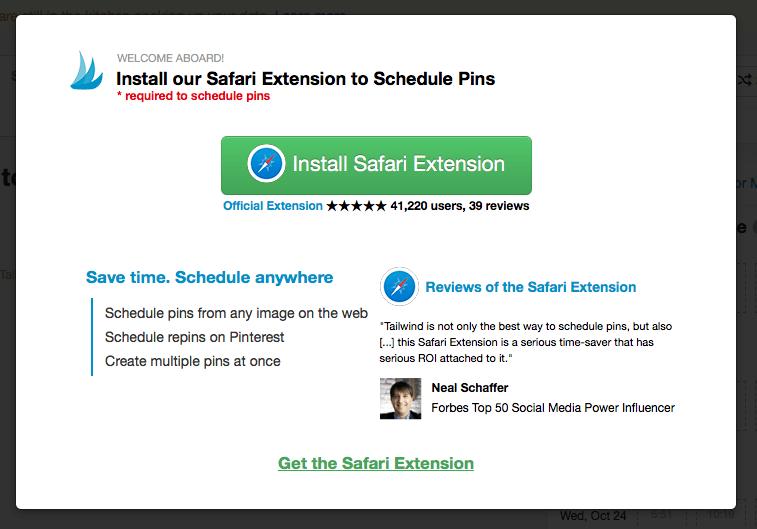
The extension went into my downloads, and then I had to install it and tell Tailwind that I was finished with the installation.
Next, I want to connect Instagram so that I can play around with all of the Tailwind features they offer. The dashboard is pretty busy and packed (more on that in a few minutes), so I had to click around a bit to figure out where to connect my Instagram account. I spotted the “pin from Instagram” link on the left sidebar and clicked it, which brought me to a screen where I could connect my profile.
This step was easier than Pinterest (probably because I’d already answered the Tailwind-specific questions). It connected to my Instagram and auto-fed the most recent posts into my dashboard.
The Tailwind Dashboard
When you go to your dashboard, it takes you to this page, which is a branching off point with several more options.

At this point, I realize that even though Tailwind has some Instagram functionality, it really is primarily for Pinterest – everything on this page is Pinterest-focused. The dashboard is pretty busy, especially with analytics information, which we’ll get into a bit later. We’ll also dive into the Tribes section in a bit. For now, let’s talk about how to schedule posts with Tailwind, which is what most people are going to be using this service for.
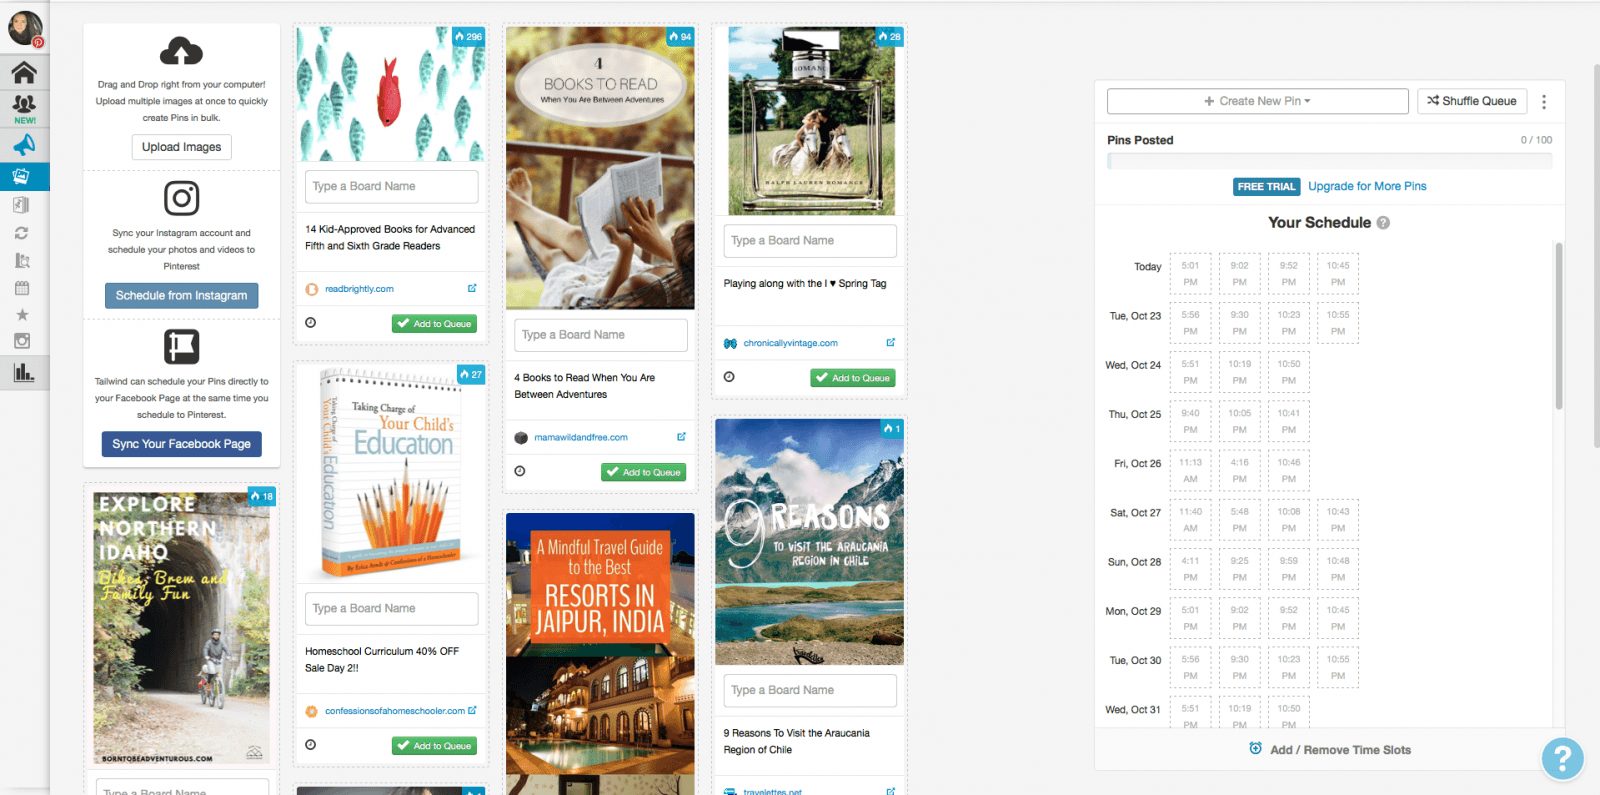
Scheduling Posts with Tailwind
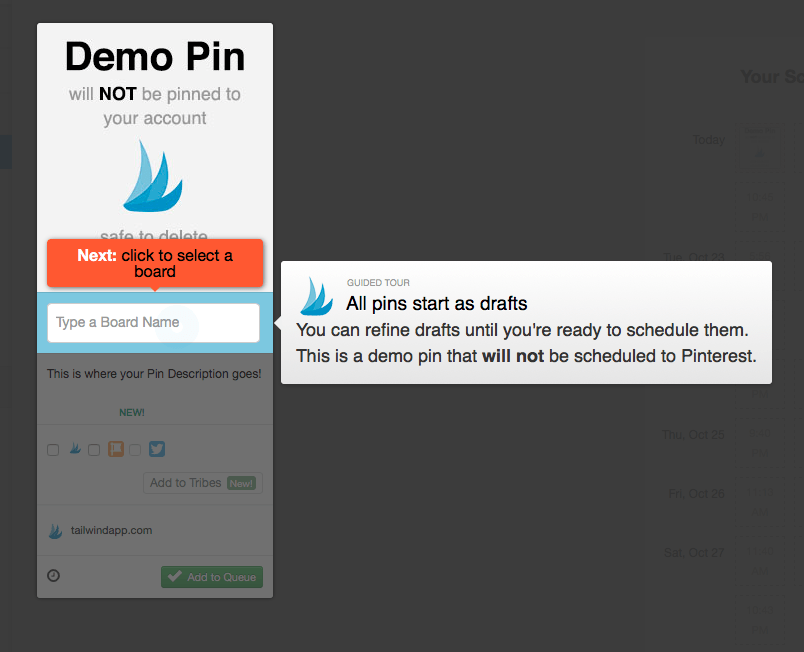
Once I had added the extension, Tailwind automatically showed me how to schedule a post. I love this because it gives me a demo pin to play around with that won’t be pinned to my account. This was so much easier than figuring it out on my own with Viraltag.
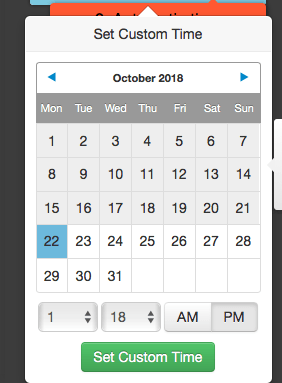
Here’s how you set a custom time:
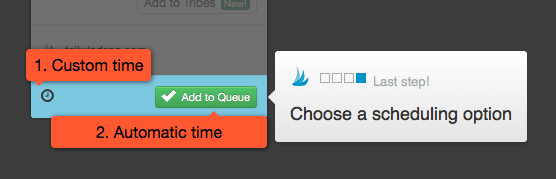
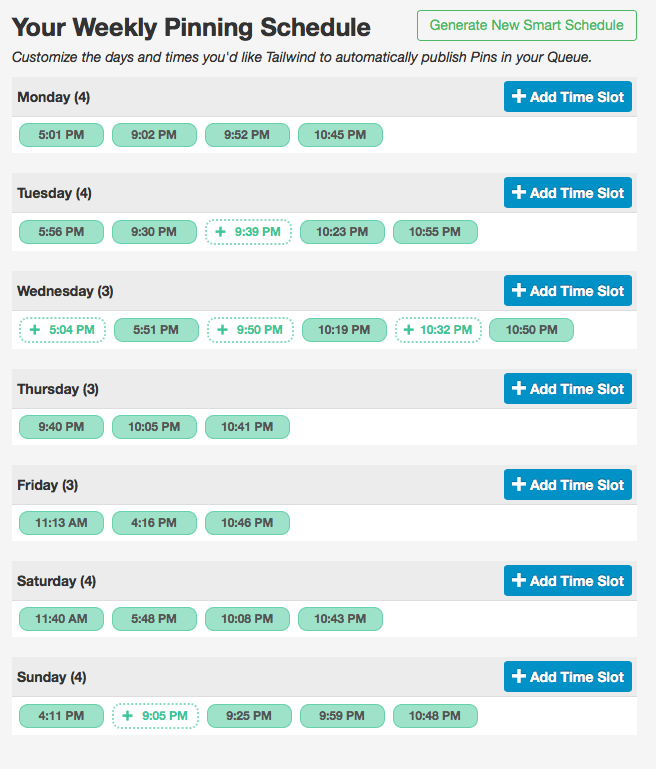
You can also create a schedule to decide the days and times you want pins to go live. They then auto-feed into the queue.

Tailwind will create a personalized schedule for you based on insights from 500 million pins and 200 million boards. They take into account trends based on the topics I pin about most; times when my audience is the most engaged; and overall Pinterest trends. You can also customize the schedule by adding or removing time slots on specific days.
Now that I was done walking through the demos, I had to go back to the dashboard to figure out how to add posts on my own. The publisher section has several sub-sections:
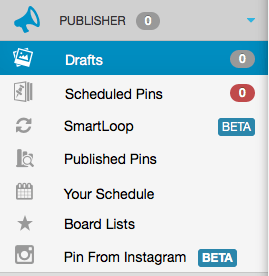
When you click on drafts, it brings you to a page where your drafts will be (I don’t have any yet), and also gives you the option to schedule posts. There are also a number of suggested curated posts based on the things I often pin.
You can upload pins one at a time or in bulk. From here, you can also schedule your Instagram photos to post to Pinterest or post your pints to your Facebook Page.
Let’s quickly go through the other publisher sub-sections:
- Scheduled Pins is where you’ll see the pins you’ve scheduled. Plus, there’s always the Your Schedule bar on the right side of the dashboard.
- SmartLoop is in beta right now, but once it’s rolled out to everyone it’ll be a way to reshare your pins to increase engagement.
- From Published Pins, you can see the pins you’ve published, including the date and time, and see repins and comments. You can also reschedule the pin, add it to a Tribe or find similar content.
- Your Schedule is where you can view and make changes to your pre-determined pinning schedule.
- Board Lists is where you can create a group of boards for one-click scheduling.
Even though I’d connected Instagram, it wasn’t obvious where to start scheduling Instagram posts. I happened to stumble upon this page when I was looking for something else, though:
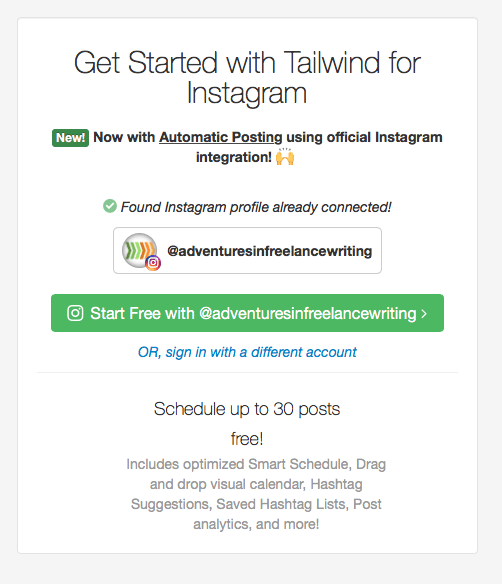
If you have an Instagram business account, Tailwind can post for you (instead of popping up as an alert on your phone and then having you automatically post). You have to setup Tailwind on your phone in order to post to Instagram, and when I went to login, the whole thing froze (this happened on the website a few times, too, which I talk about at the end of the article).
Analytics with Tailwind
Tailwind has a ton of analytics options:
- Weekly Summary: This is where you’ll find a snapshot of your week’s progress on Pinterest, including repin growth; viral boards and pins; and engaged followers.
- Profile Performance: This is where you can see up-to-date Pinterest numbers, including followers, pins, repins and comments. You can track growth, virality and engagement.
- Board Insights: This is where you can go in-depth with your boards to measure each one’s individual performance.
- Pin Inspector: You can use this tool to figure out how an individual pin is performing.
- Website Monitoring: The Website Insights, Organic Activity and Referral Traffic analytics let you find trends and conversations related to your website.
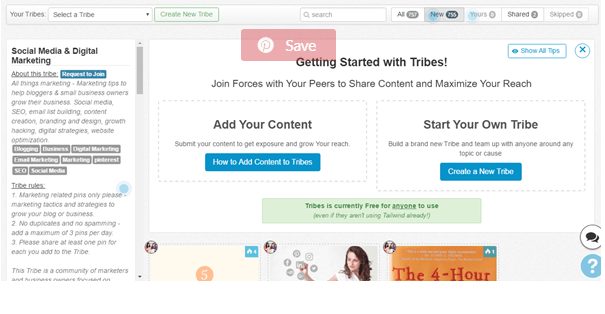
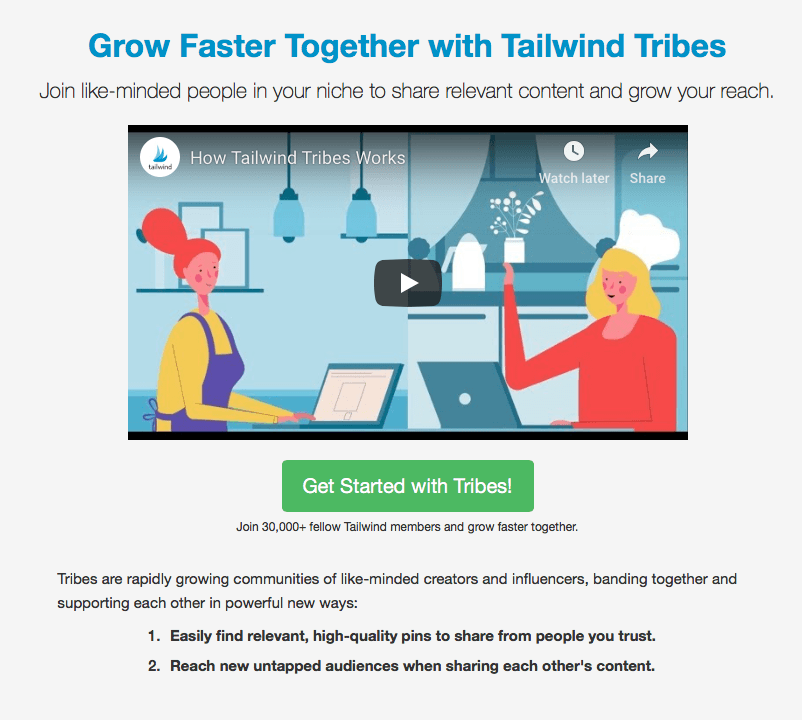
Tribes for Curating Content with Tailwind
Under the home icon on the dashboard is the Tribes icon. This isn’t automatically set up for you; you have to go through a few steps to get everything set up.
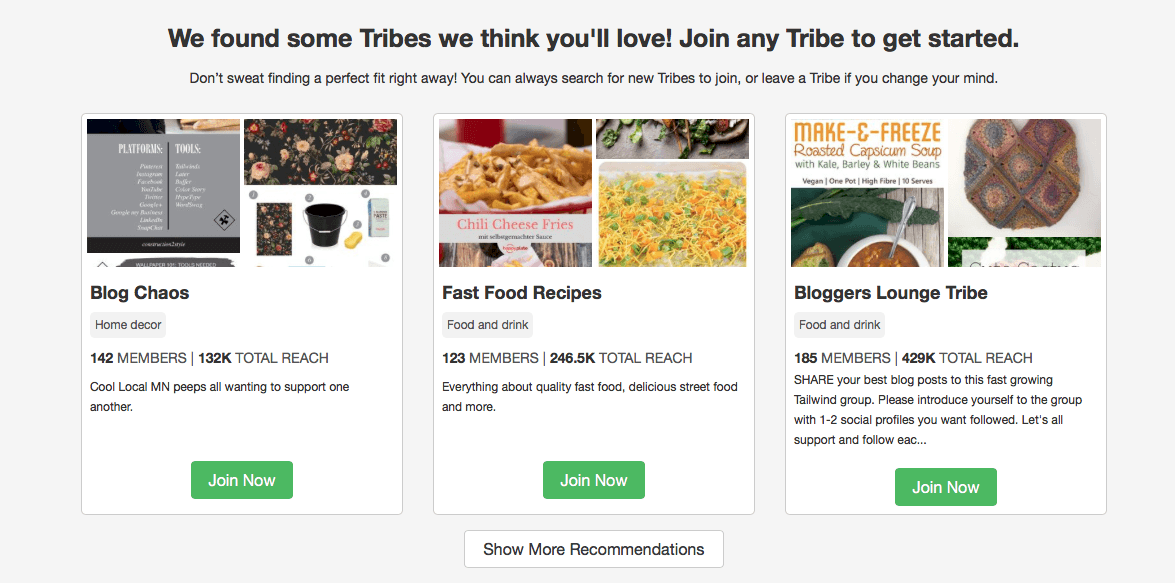
I chose five categories I’m interested in…
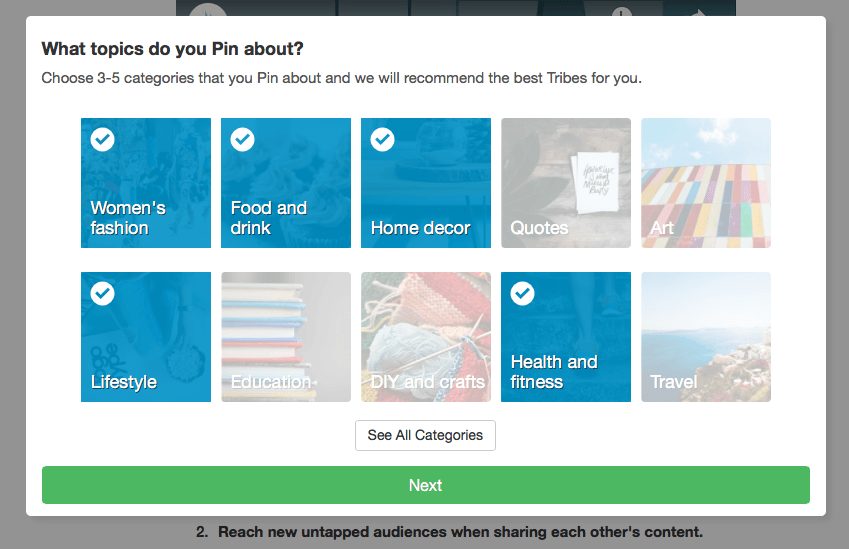
…which auto-populated these Tribes to join. (Honestly, I was a little disappointed – how did these three lackluster Tribes come from topics like fashion, food and travel?)
You can then look at the content that your Tribe has submitted and you can also submit your own content to the Tribe. Here’s the user-submitted content…
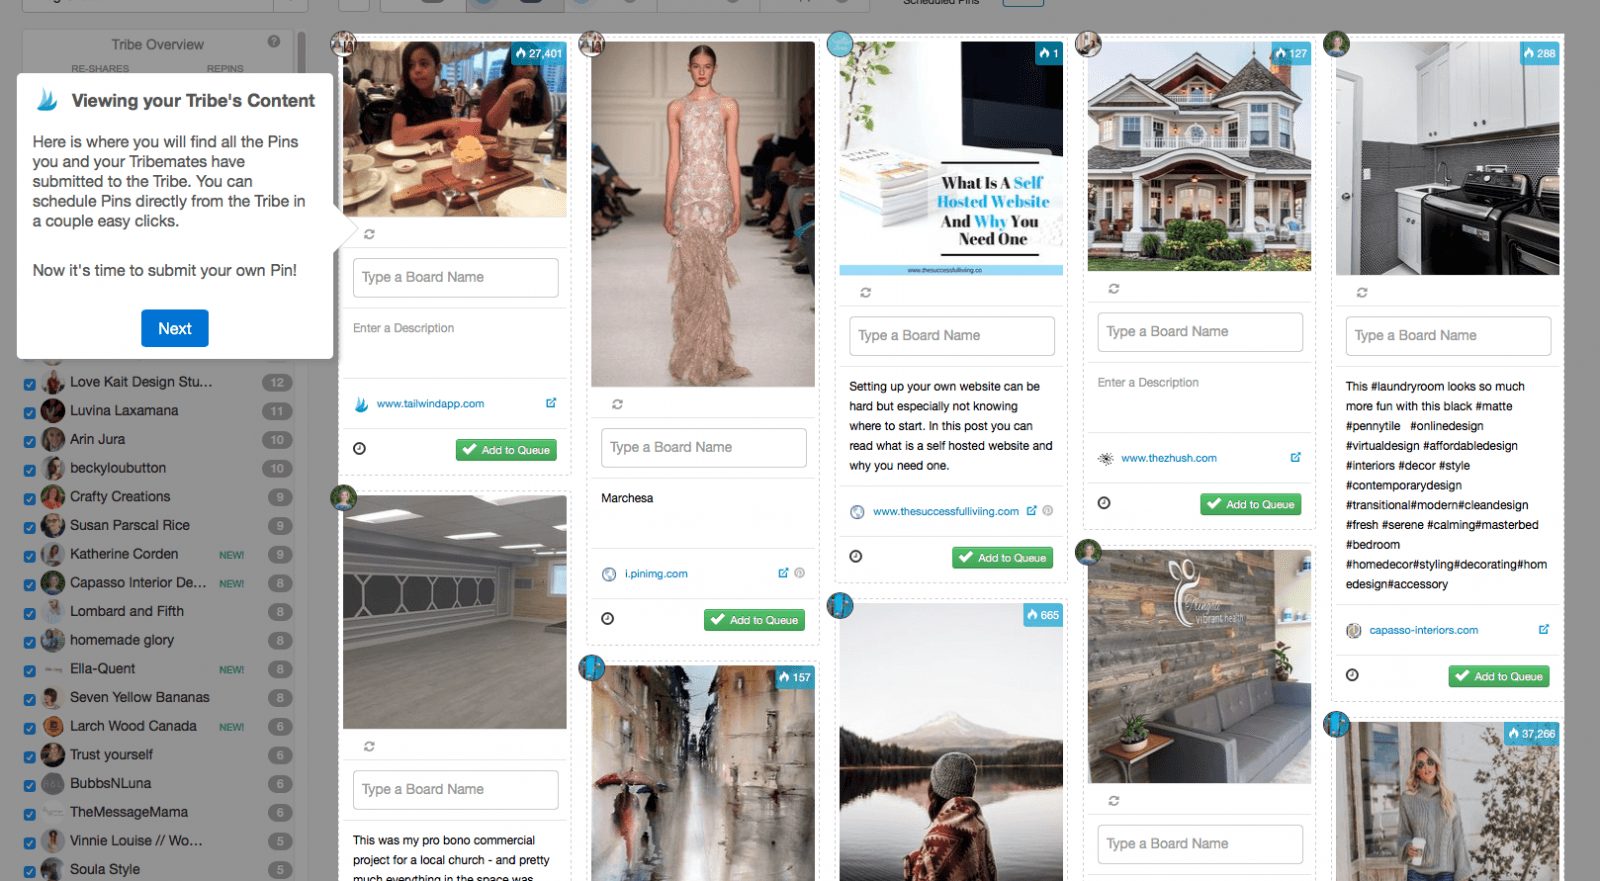
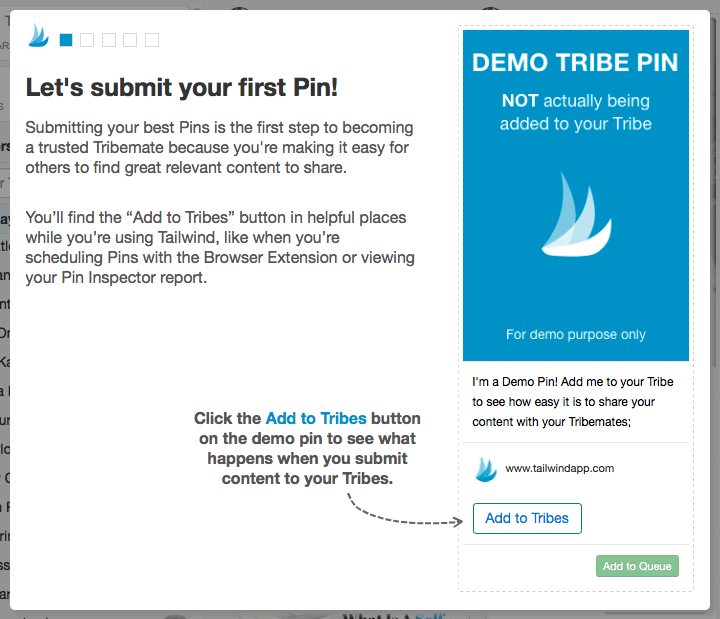
…and here’s how you add your own pin to the Tribe (which also goes to Pinterest):
You can then see who has shared the pins you submitted to the Tribe, as well as who has shared the pin on Pinterest.
Tribes is a decent way to discover content, although you could also search for content right in Pinterest, which would return more results. It feels like Tribes is a way for Tailwind to try to grow their own community, but I don’t see much point in that, at least not for marketing purposes.
The Tailwind Mobile App
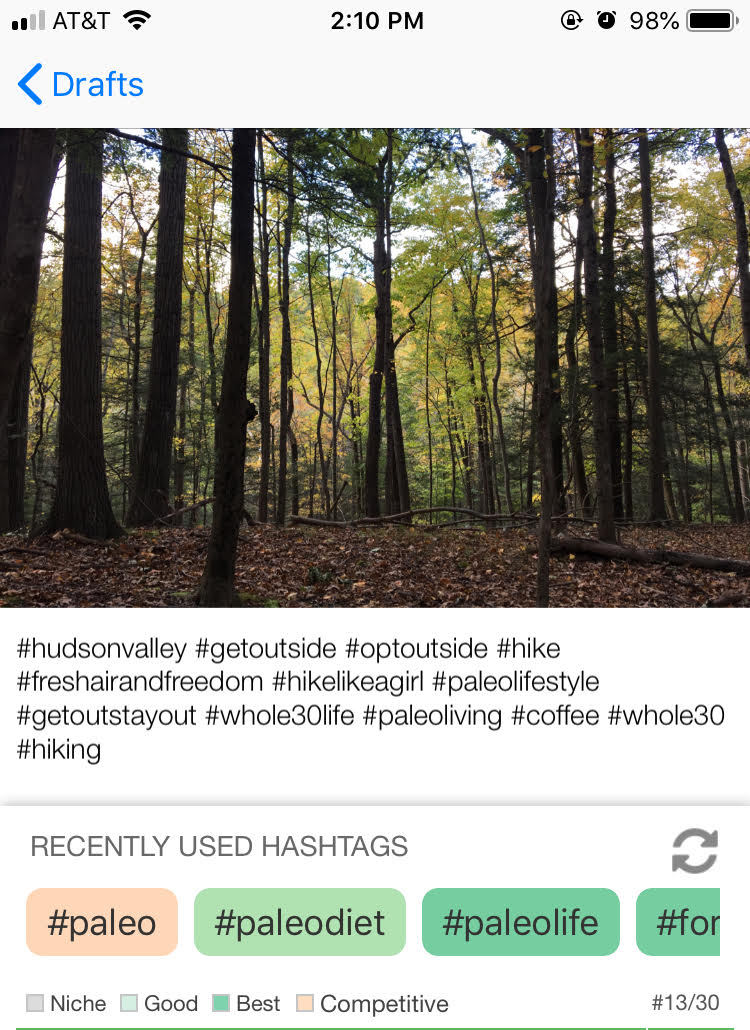
The Tailwind mobile apps lets you create and schedule posts, view your calendar to see which slots are filled or still open, and check out your published posts. What I love most about this app is the hashtag counter, though, and I often use it just to reach my 30 Instagram hashtag limit without going over, then simply copy and paste them into my Instagram post on the native app. When you create a post in Tailwind, you can start entering hashtags and then get suggested hashtags in the following categories: Niche, Good, Best and Competitive.
Tailwind Pricing
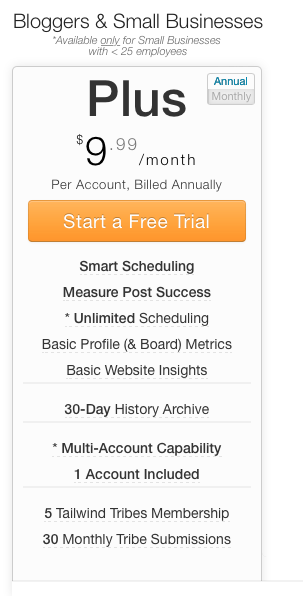
Tailwind’s Plus plan for bloggers and small businesses in $9.99 per month and includes a free trial. Here’s a breakdown of the features you’ll get:
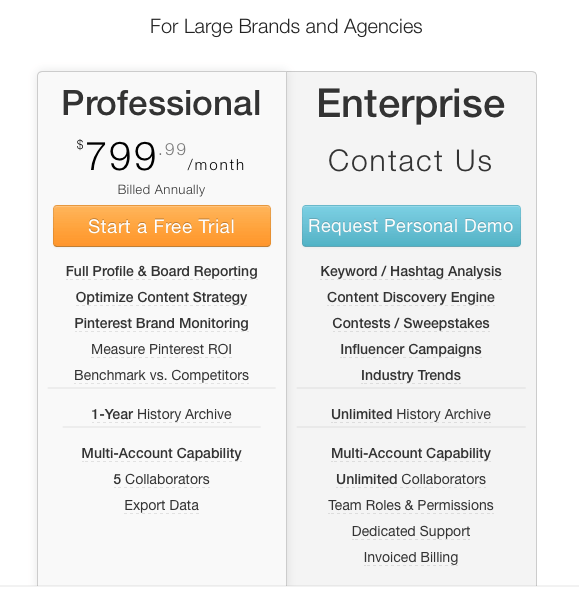
For large brands and agencies, there are two costlier plans starting at $799.99 per month:
Final Verdict on the Viraltag vs Tailwind Debate
Tailwind is the ONLY tool I trust to generate more AUTOMATED traffic from Pinterest. Other tools offer Pinterest scheduling as a "me too" offering, Tailwind IS the Pinterest marketing suite. Build traffic, tribes, and re-pins!
Viraltag is a solid option for social media scheduling if you’re going to be using a variety of social media platforms. It’s overly basic in some areas (like bulk scheduling), but overall very simple to setup and start using. There are some odd hoops to jump through, like logging in after already connecting your accounts and having to change the caption that’s auto-filled with the file name.
I loved getting started with Tailwind – I didn’t even have to think about what I needed to learn next because their walk-through showed me. I did notice, though, that clicking around the dashboard became problematic at times – I would click and click and click on a button, but nothing would happen. It wasn’t a connection issue or anything wrong with my mouse; it felt like maybe the dashboard is so busy and overloaded that it doesn’t respond quickly.
Tailwind wouldn’t be my top choice for Instagram scheduling (even though having it auto-post to business accounts is helpful), but for bloggers or businesses that rely on Pinterest for a majority of their marketing, it has a ton of helpful analytics to dive into.
Since the focus is just on one or two platforms, scheduling a post is a lot more streamlined than with Viraltag, and Tailwind also has a much better system for auto-creating queue schedules.
Bottom Line: If you are primarily doing Pinterest and Instagram marketing, Tailwind IS the best option (miles ahead of ViralTag). However, if you are looking to also manage other social media profiles, Viraltag is a great tool to manage it all as a base line.
If you want to explore alternative options check out Buffer vs Tailwind Showdown or Best Sprout Social Alternatives: For Your Social Media Needs.
Further Reading: