
Last Updated on April 22, 2023 by Ewen Finser
I’ve used nearly every project management platform, and ClickUp is one of my favorites. I do a lot in my life — I’m a full-time freelance writer, I write books, and I own and operate two websites. I need a project management platform that not only offers the level of complexity I need but does so in an organized way.
I’ve regularly used Trello and Asana throughout the years; I like them, but I’m still pretty limited by these platforms. I’ve just used Google Sheets and my calendar to keep my workspace organized and track deadlines.
I decided to give ClickUp a chance, and I’m glad I did. I love how I can organize my tasks to the corresponding space, giving me a better view of my workspace, what I need to do, and any due dates I need to track. Plus, I’m still able to use the free plan!
But the concept that intrigued me the most was folders. In other project management platforms, you create individual tasks in your workspace. But ClickUp goes a step further; you can create folders for each space, so you can better organize projects and assignments.
Approaching ClickUp folders can be daunting for new users, which is why I created this guide. In this article, you will learn how to organize ClickUp folders to better understand the ClickUp hierarchy and how this project management platform works.
Bottom Line Up Front
Folders will separate your lists in ClickUp. You can organize your folders by creating new ones, renaming them, moving a folder to a different space, and even deleting the folders you no longer need. Folders are technically optional, but I find them to be very helpful.
ClickUp Hierarchy
What I love most about ClickUp is the hierarchy to organize your workspace. In this section, I will cover every point in the hierarchy, so you don’t get confused when you organize your ClickUp folders.
Workspace
When you sign up for ClickUp, you’ll create your workspace. The workspace is the top level of the hierarchy and includes everything in your organization. For example, let’s say you’re using ClickUp for your marketing team. You will likely name your workspace something like “Company’s Marketing Team” and use it as a hub for all of your marketing projects and assignments. You can add team members to these workspaces so everyone can work directly on ClickUp.
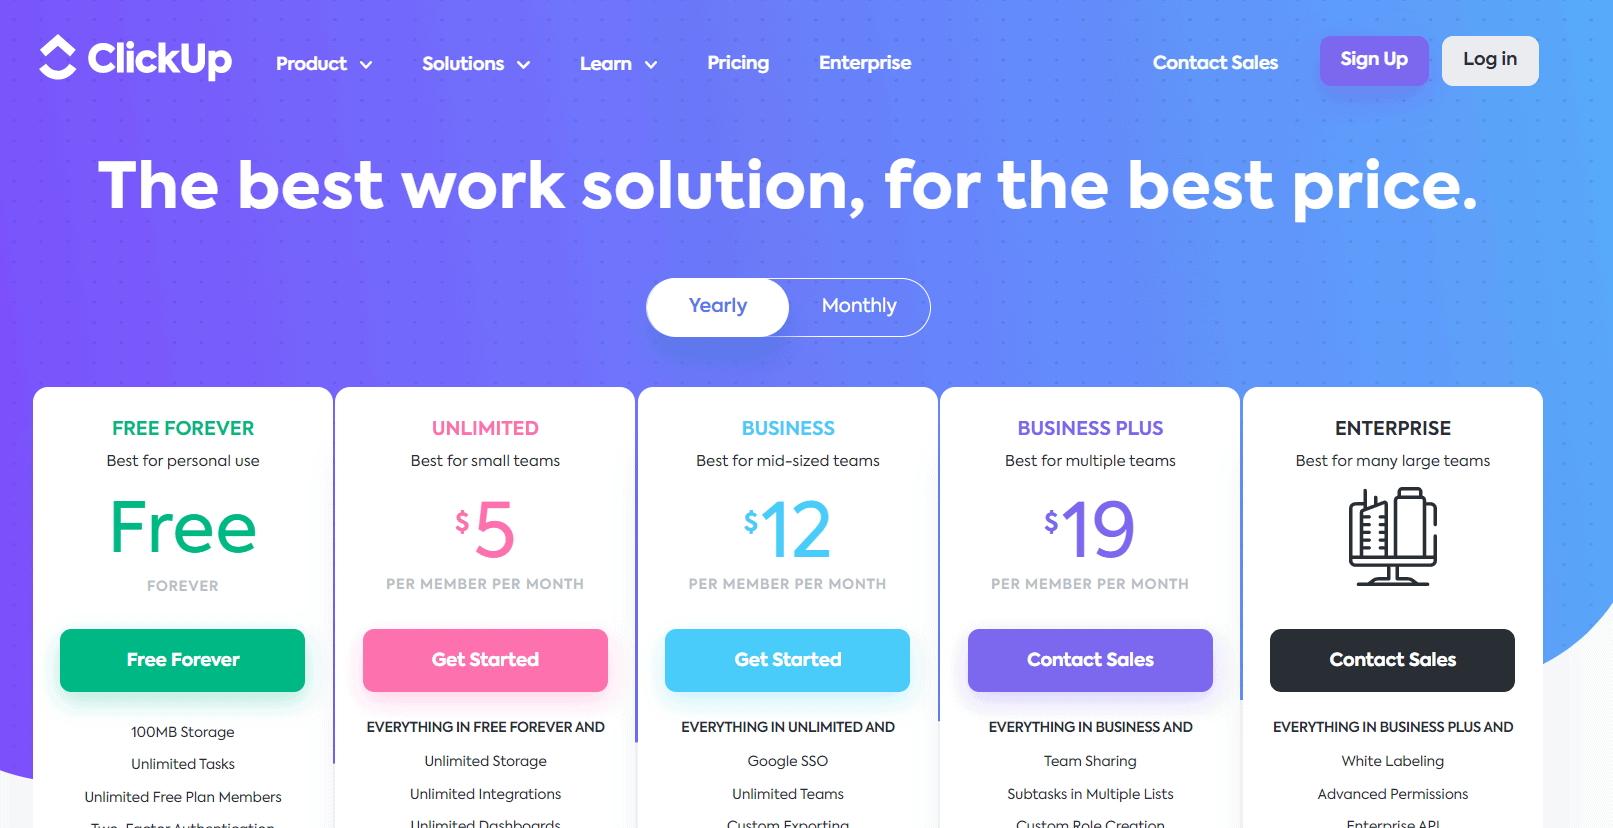
The number of workspaces you can host depends on your plan. I can host five workspaces on my plan. But on the other plans, you have unlimited workspaces. You can use ClickUp for nearly every team in your business.
Space
Within a workspace, you can create spaces to separate the core components of your organization. This was confusing to me initially, but you’ll better understand this process once you start creating your ClickUp workspace. Let’s use the marketing workspace as an example. Your spaces will represent departments in your marketing team. You can have a space for content, social media, ads, branding, and SEO.
As with workspaces, you can invite individual members to these spaces. That way, your team members can create folders, tasks, and more,
Folder
In your space, you’ll have a list of tasks, subtasks, assignments, documents, and more. Folders organize all of this data within your space. Let’s take the content space as an example. You’ll likely have folders like “blog” and “web copy.” If your content team is more in-depth, you may have folders for individual types of content, such as “pillar pages,” “listicles,” and “guides.”
List
When you create a folder, you can create a list. Lists are where you’ll find your individual tasks, subtasks, and assignments. You can organize lists in different ways. I commonly see lists as geographical locations, individual goals, or a way to organize complex projects.
Tasks
Tasks are actionable items in your ClickUp stack. Your team can upload documents to tasks, assign due dates, add notes, comment on the tasks, and so on. There are also customization options for your tasks, such as custom fields and statuses. While your task will have a parent list, you can also add the task to other lists.
Subtasks
You can create a subtask within a task if your assignments are complex. The subtask has the same workflow elements as the parent task, but you can also use a subtask for multiple other purposes. I like using subtasks if one task has multiple steps and processes. You can also rearrange your subtasks to stay organized.
Make a Space
After you sign up for ClickUp, you’ll be taken to your workspace. Get started by making a space. On the lefthand sidebar, you’ll click the “New Space” button. Enter the name of your space. You can customize your space by choosing an avatar and setting the color of that avatar. I like this option because the visual element organizes your spaces better.
If you’re working with multiple workspaces, you can set the space to a particular workspace. I only have one, so I set my space to that option. If you want this space for yourself, you can set the space to private. This is a good option if you’re the owner of a company and want to track employee productivity, finances, data, tasks for yourself as a business owner, and other confidential information.
From here, you can choose a template. The template is the structure of the space. I like using the content one since I’m a writer, but there are also templates for project management, marketing, and more. You can also make your own custom templates. If you’re unsure which template you prefer, I would select the “normal” option.
You can choose different ClickApps you want to apply to your space. I will cover more about ClickApps in another section. ClickUp will auto-select these apps:
- Priority
- Tags
- Multiple assignees
- Custom fields
- Time tracking
- Incomplete warning
- Dependency warning
Select and de-select the ones you need/don’t need. You’ll then go to the default view settings. I use the list format because it’s easier to follow, but different formats may be better for your assignments. For example, if you’re using this space as a content calendar, click the calendar view.
Once you’re done, review your preferences and click “Create Space” when ready.
Organizing Your Folders
Once you make your folders, there are ways to organize them to better fit your needs. Here are a few tips that I found.
Customizing Your Folders
There are different ways to customize your folders. You can create a custom template and apply it to individual folders. There are many custom field options. For example, you can create your own color-coded tags to expedite certain processes. You can also color-code your folders to make them easier to access.
Editing a Folder
Editing a folder is easy. All you have to do is hover your cursor over the folder to make any edits you need. Here are some of the folder edits that you can make:
- Rename
- Duplicate
- Sharing and permissions
In my video tutorial, I show you how to rename a folder.
Moving a Folder
You can move folders to better organize your workspace, and maybe there’s a chance when you added a folder to the wrong space. I showed you how to move a folder in the video tutorial, but I will mention the steps here.
Highlight the folder you want to move with your cursor. Click the ellipsis that appears on the right. You’ll see a number of different options — click the “move” option. A pop-up will command you to select which space you want to move the folder. Keep in mind that you can’t move folders within a space.
Deleting a Folder
Deleting a folder follows a similar step. Highlight the folder you want to delete with your cursor and click the ellipsis. At the bottom of the menu, you’ll see “delete” with an icon of a trashcan in red. Click delete, and the folder will be moved to your trash.
If you deleted a folder by accident, you can restore it from the trash folder. To access the trash folder, go to your name icon (it looks like a circle with your initials) and click the arrow. You’ll see your settings page, and there will be a trash option. Click trash, and you’ll see your trash folder. Hover your cursor over the folder you want to restore and click the ellipsis that appears on the right. Click the first option, “restore.” The folder will appear back in your workspace, and it will also appear under its original space.
Adding Lists and Tasks
After making your folder, you’ll want to add lists and tasks. As stated previously, lists organize individual tasks, assignments, projects, documents, files, uploads, and subtasks. After you make a list, you can add the essential productivity items you need for your project. I created video tutorials to create lists and tasks, but I will outline the steps here.
For lists, hover your cursor over the folder that will hold the list and click the + icon. Click the first option, List. Name your list and click Create List.
The platform will take you to the project view page, where you can create tasks. You can also customize your list by adding a description and comments.
To create a task, click the button that says “new task.” Enter the task name and hit enter. The task will appear in your list. Click the task to customize it. You can add a title, description, subtasks, attachments, comments, set a due date, and more.
Other ClickUp Features
I also like ClickUp because this platform includes many cool features and functions. Here are some of the most important ones.
ClickApps
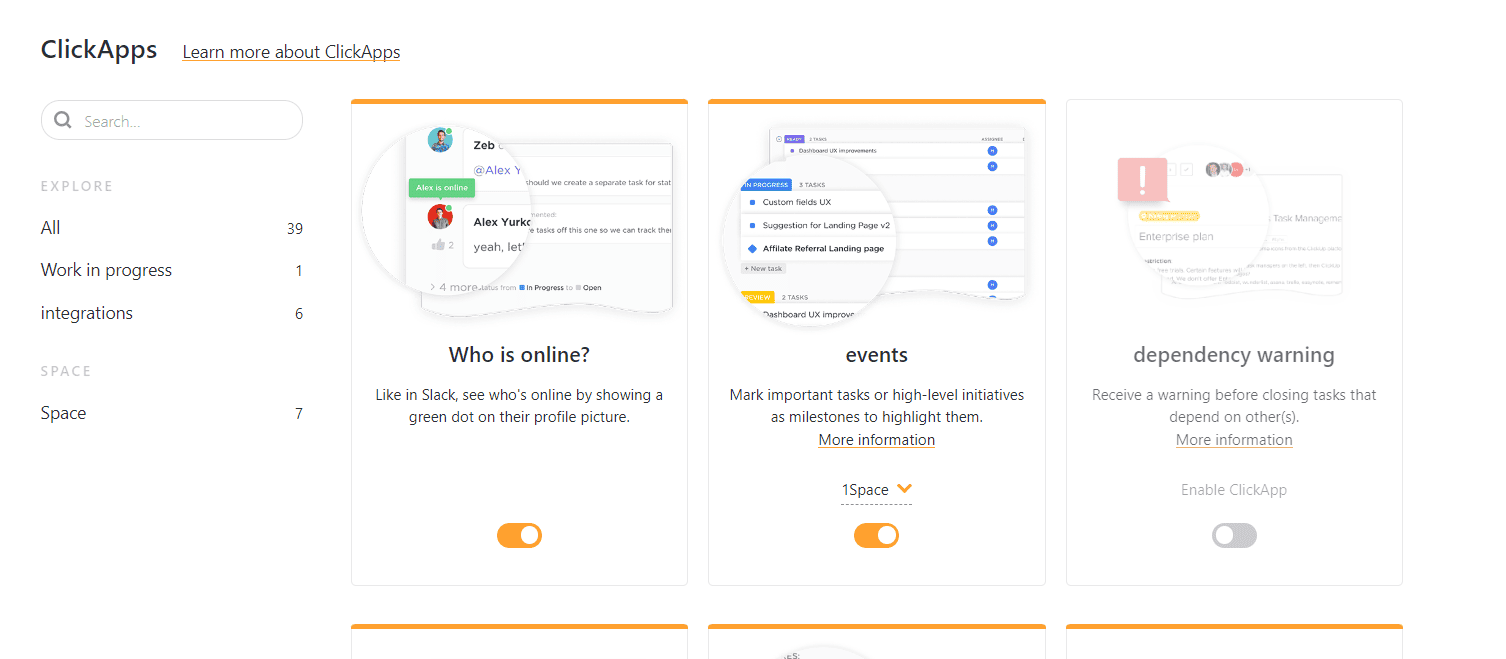
ClickApps are a series of features that customize your workspace. You can turn these ClickApps on and off, depending on what you need and don’t need. When you create a workspace, you’ll be prompted to choose how many ClickApps you want to add. You can also change your ClickApps by going to your settings page and clicking the ClickApps section.
Here are some of the most vital ClickApps that you can use:
- Screen recording
- Automation
- Comment reactions
- Collaborative editing
- Custom fields
- Dashboard
- Dependency warning
- Docs home
- Giphy
- LineUp
- Incomplete warning
- Multiple assignees
- Priority
- Relationships
- Quick-create statuses
- Tasks in multiple lists
- Tags
- Threaded comments
- Time tracking
- Who’s online
ClickUp can also integrate with Office 365. Keep in mind that some ClickApps are only available when you upgrade your plan.
Comments
You and your team members can add comments to lists, tasks, and docs. Some actions may also appear as comments. For example, when you assign a team member to a task, this action will appear as a comment. You can also add comments when actions are needed, and the user can resolve them when completed. You can respond directly to comments or react to them using a thumbs-up or emoji.
Templates
Templates are the way your workspace is organized. You can use templates for literally anything in ClickUp — from your workspace all the way to individual subtasks. You can customize your own, set a pre-made template that ClickUp created, or set a normal template.
Docs
As a writer, I use ClickUp’s docs to write my work. The docs section is actually an impressive CMS-like platform; you can enter a title, content, media, and so much more. Like the Gutenberg editor, ClickUp operates on a block editor. Hover your cursor over the article body and click the + to the left. You’ll see all of your text block options.
You can also customize your docs. Hover your cursor over the right side of the screen, and you can see another menu pop-up. You can edit the page details, add a template, and export/import this file or other files.
Keep in mind that the docs part is for more than just articles. You can use the docs section to write product and website copy, create meeting outlines, and write your marketing and advertising content. Your whole team can also collaborate on docs.
Checklists
You can add a checklist to tasks and subtasks. These are better for small items that you can easily track. I like adding SEO points to my articles, such as optimizing for keywords and adding metadata, so I don’t forget these little tasks.
To create a checklist, go to a task and scroll down. You’ll see the Checklist area. In the section that says “New checklist item,” click that area, type in the item, and click enter. The checklist item will appear with a circle. Click the circle when the item has been completed.
You can also rearrange your list. Hover your cursor over the checklist items and move your cursor to the left. The cursor will turn into an icon with four arrows. You can click the item and move it up or down.
FAQs
Question: Can I Put a Folder Within a Folder on ClickUp?
Answer: No, but you can create multiple lists under a folder.
Question: How Many Folders can I Have on ClickUp?
Answer: It depends on your plan. If you have the Unlimited plan, you can have up to 400 folders. I can’t find an exact number for the free plan, but the free plan can have 100 lists.
Question: Can I Create a Sublist?
Answer: Not that I know of, you can only create a subtask from a parent task.
Bottom Line
ClickUp is now one of my favorite project management platforms, and I love the folders feature. Folders are intended to separate and organize your lists under a space. There are many ways to organize your folders. You can rename your folders, add them to different spaces, customize them, and even delete folders you no longer need. Folders are technically optional, but I find them to be very beneficial.